Proxmox
How to deploy your Trapster on Proxmox:
Configuration
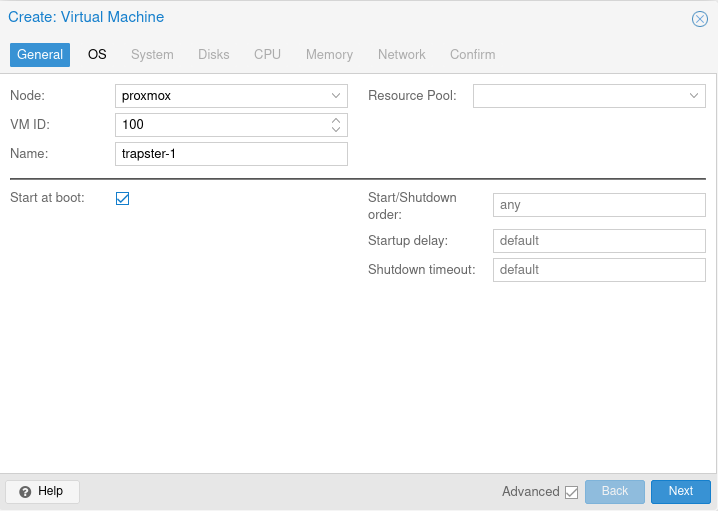
1. Create a new VM
You can give your VM whatever name you want, this will have no impact on its operation or its identity on the network, for example: trapster-1.
Click on the advanced button and check the start at boot box.
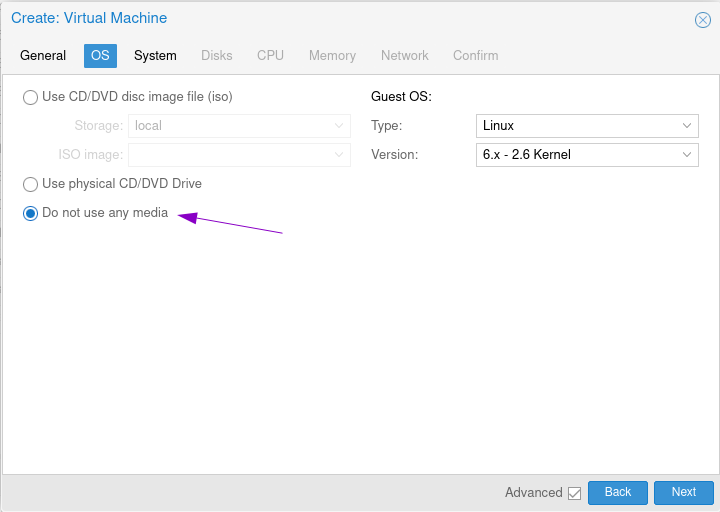
2. OS
Click on Do not use any media
3. System
You can leave the default settings
4. Disks
Delete the auto created disk. The disc will be installed via the image downloaded from your console.
5. CPU
You can leave the default configuration:
1 sockets1 Cores
6. Memory
You can leave the default memory: 2048Mb. Make sure to check the Ballooning box so as not to reserve all of the memory for the VM.
7. Network
Configure the network so that the VM has a local IP, and the rest of the network can communicate with your Trapster.
With a standard installation, the default settings are sufficient.
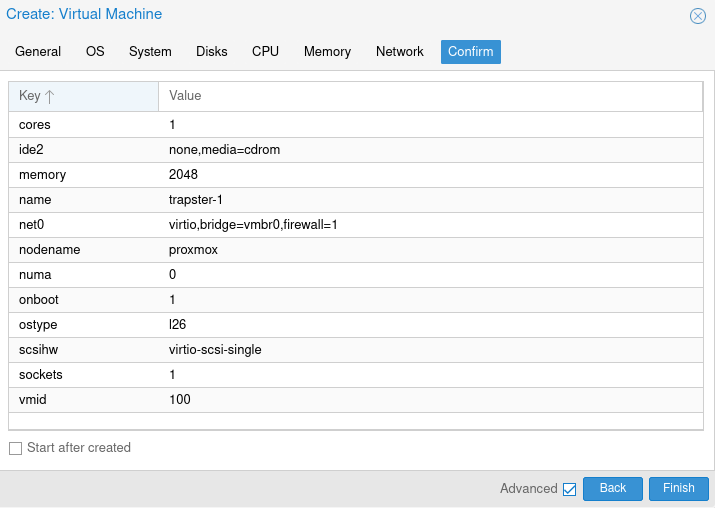
8. Confirm
You should have a configuration similar to this:
Transfer the Trapster disk to Proxmox
Send the disk to the server:
- either using
scp - either by changing the extension to
.assetsand uploading your image to your storage
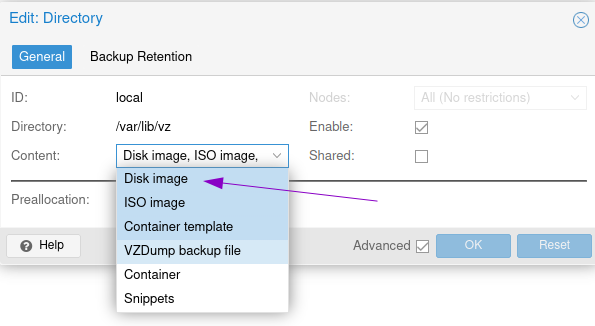
Make sure your storage supports disk upload: Datacenter > Storage > local then Edit,
Attach the disk to the VM
You must then import the disk to the VM. To do this, note your VM ID and your image path, then use the following command:
qm importdisk 100 /var/lib/vz/template/iso/Trapster-<version>.assets localAttach the attach the disk by double-clicking on the "unused" disk in the hardware section. Change the boot order in the Options section : deselect all, and select the new disk.
You can now start the VM.