Teams
This guide walks you through how to send Trapster alerts directly to a Microsoft Teams channel using webhooks.
Configuration
We’ll start by creating a workflow that listens for webhook requests and posts them to a Teams channel.
1. Set up Workflow for Webhook
Start inside the Webflow section of Microsoft Teams. 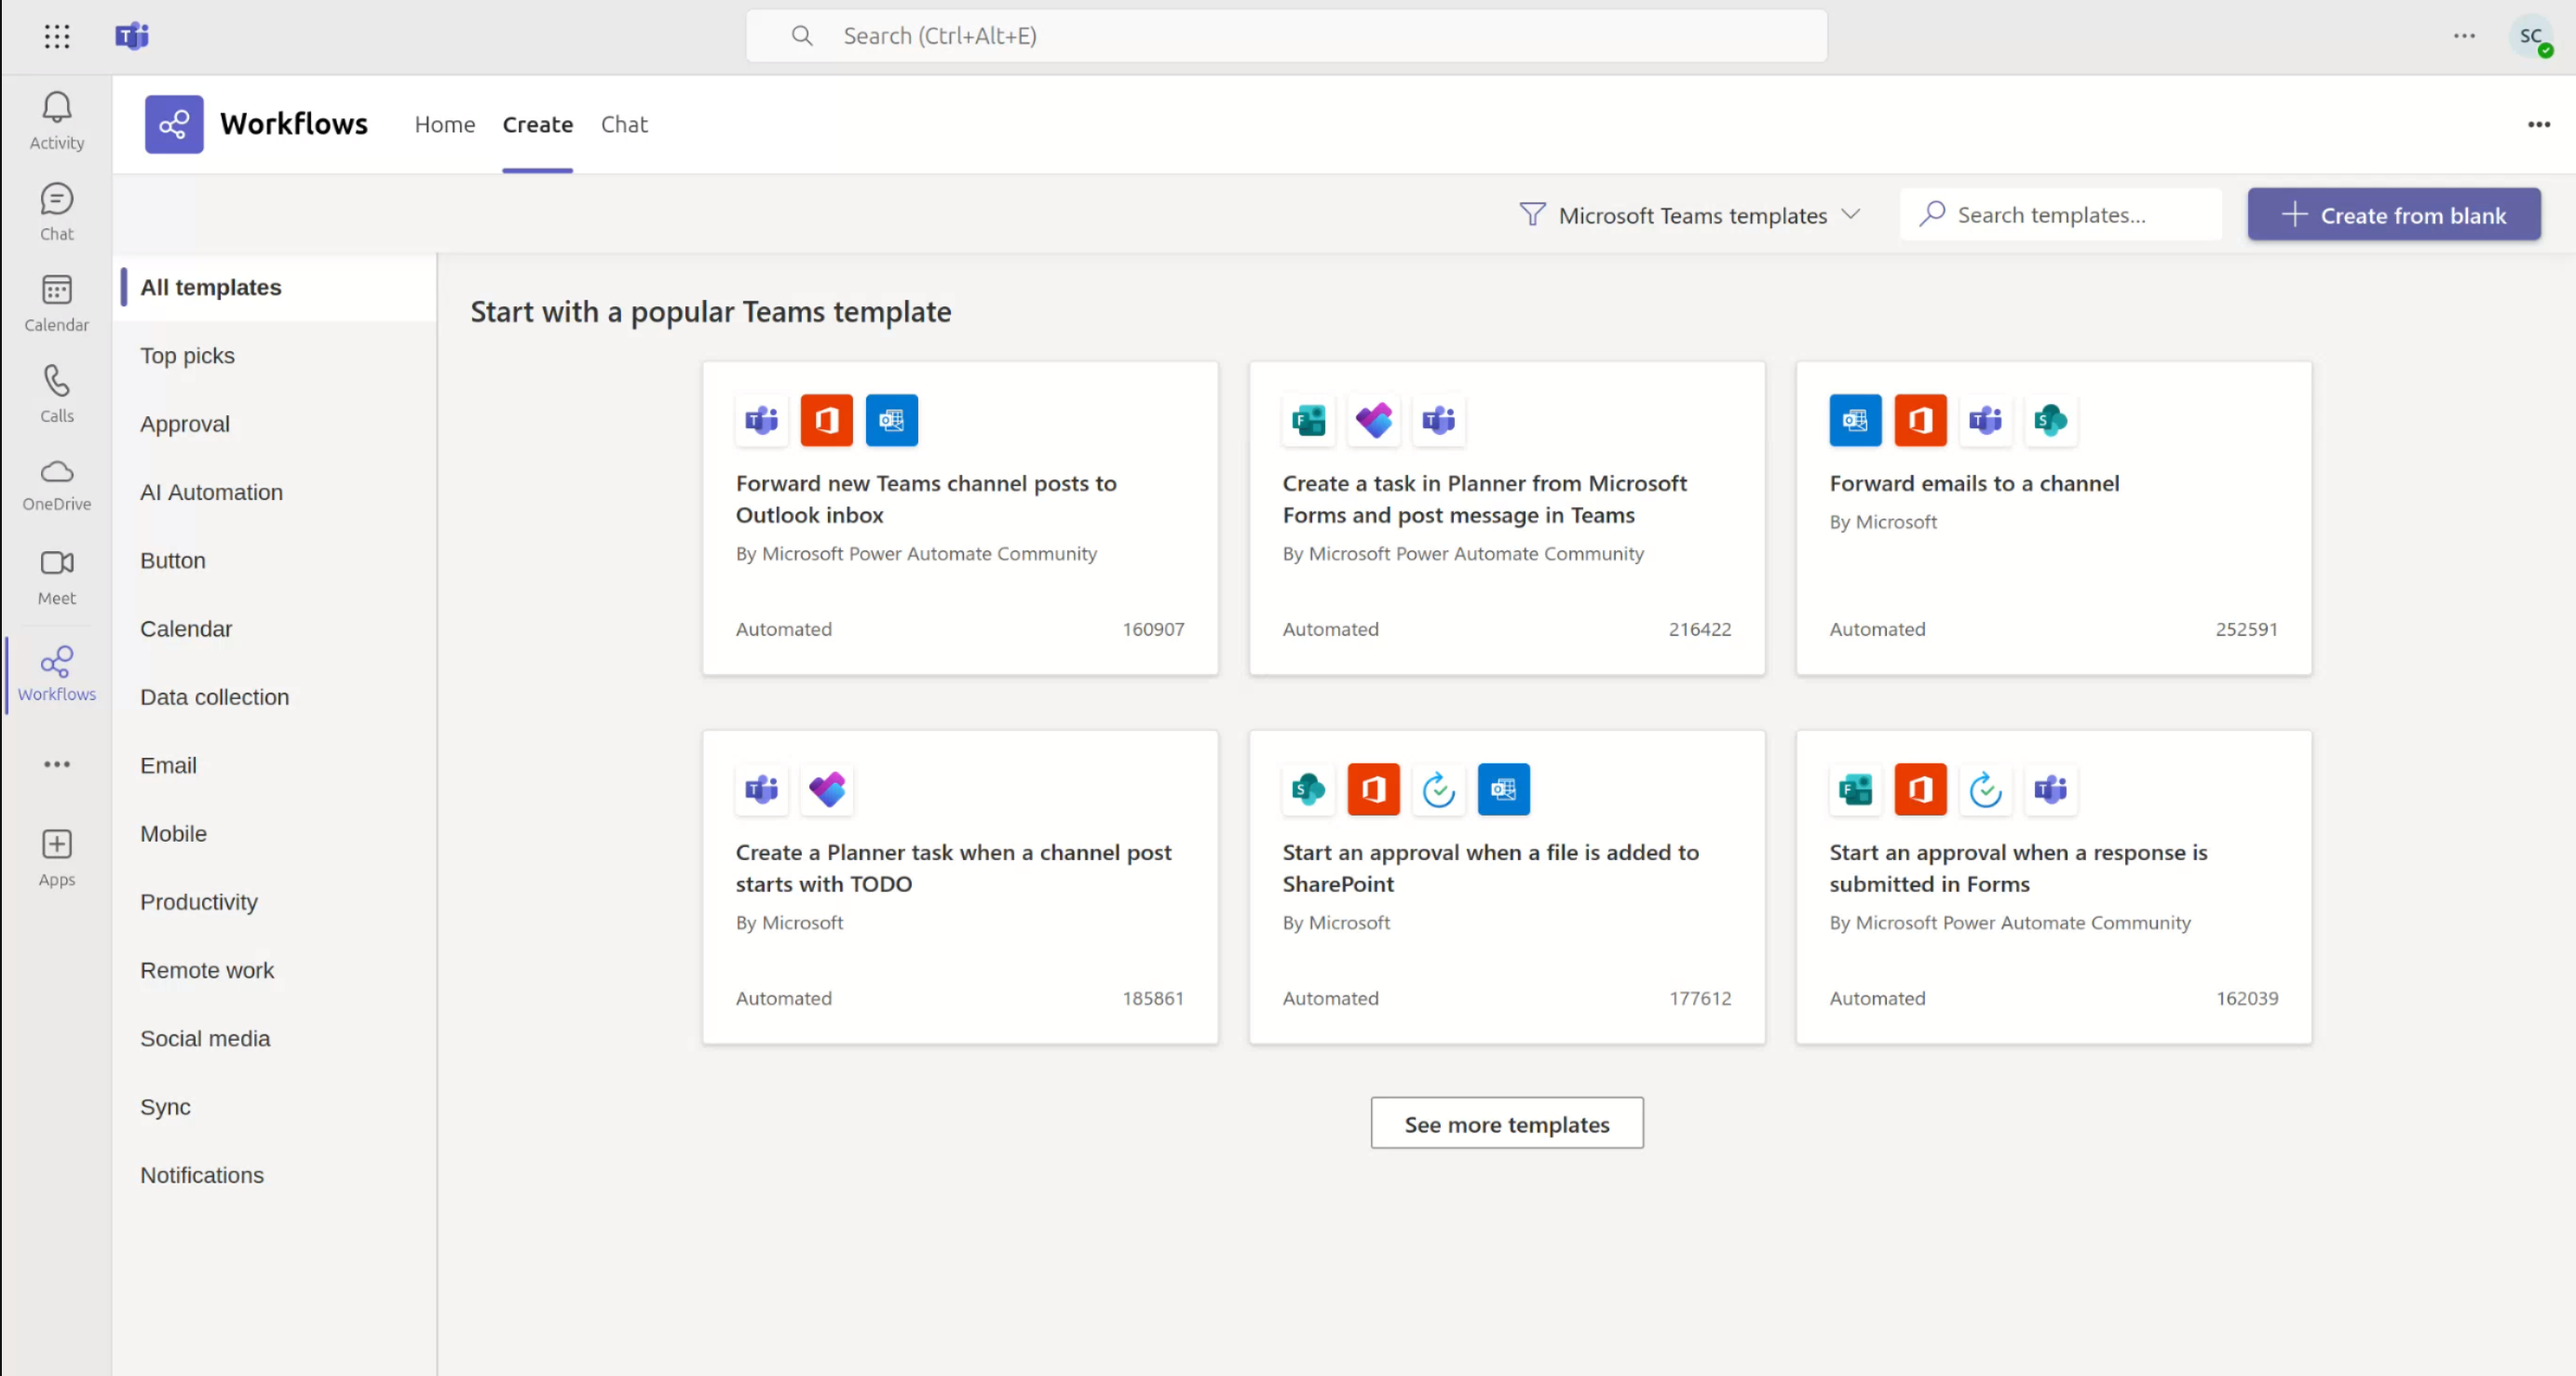
The template Post to a channel when a webhook request is received may no longer be available so we will instead use Post to a channel when a webhook request is received from tenant users and then modify slightly.
Search for Post to a channel when a webhook request is received from tenant users and select this template. 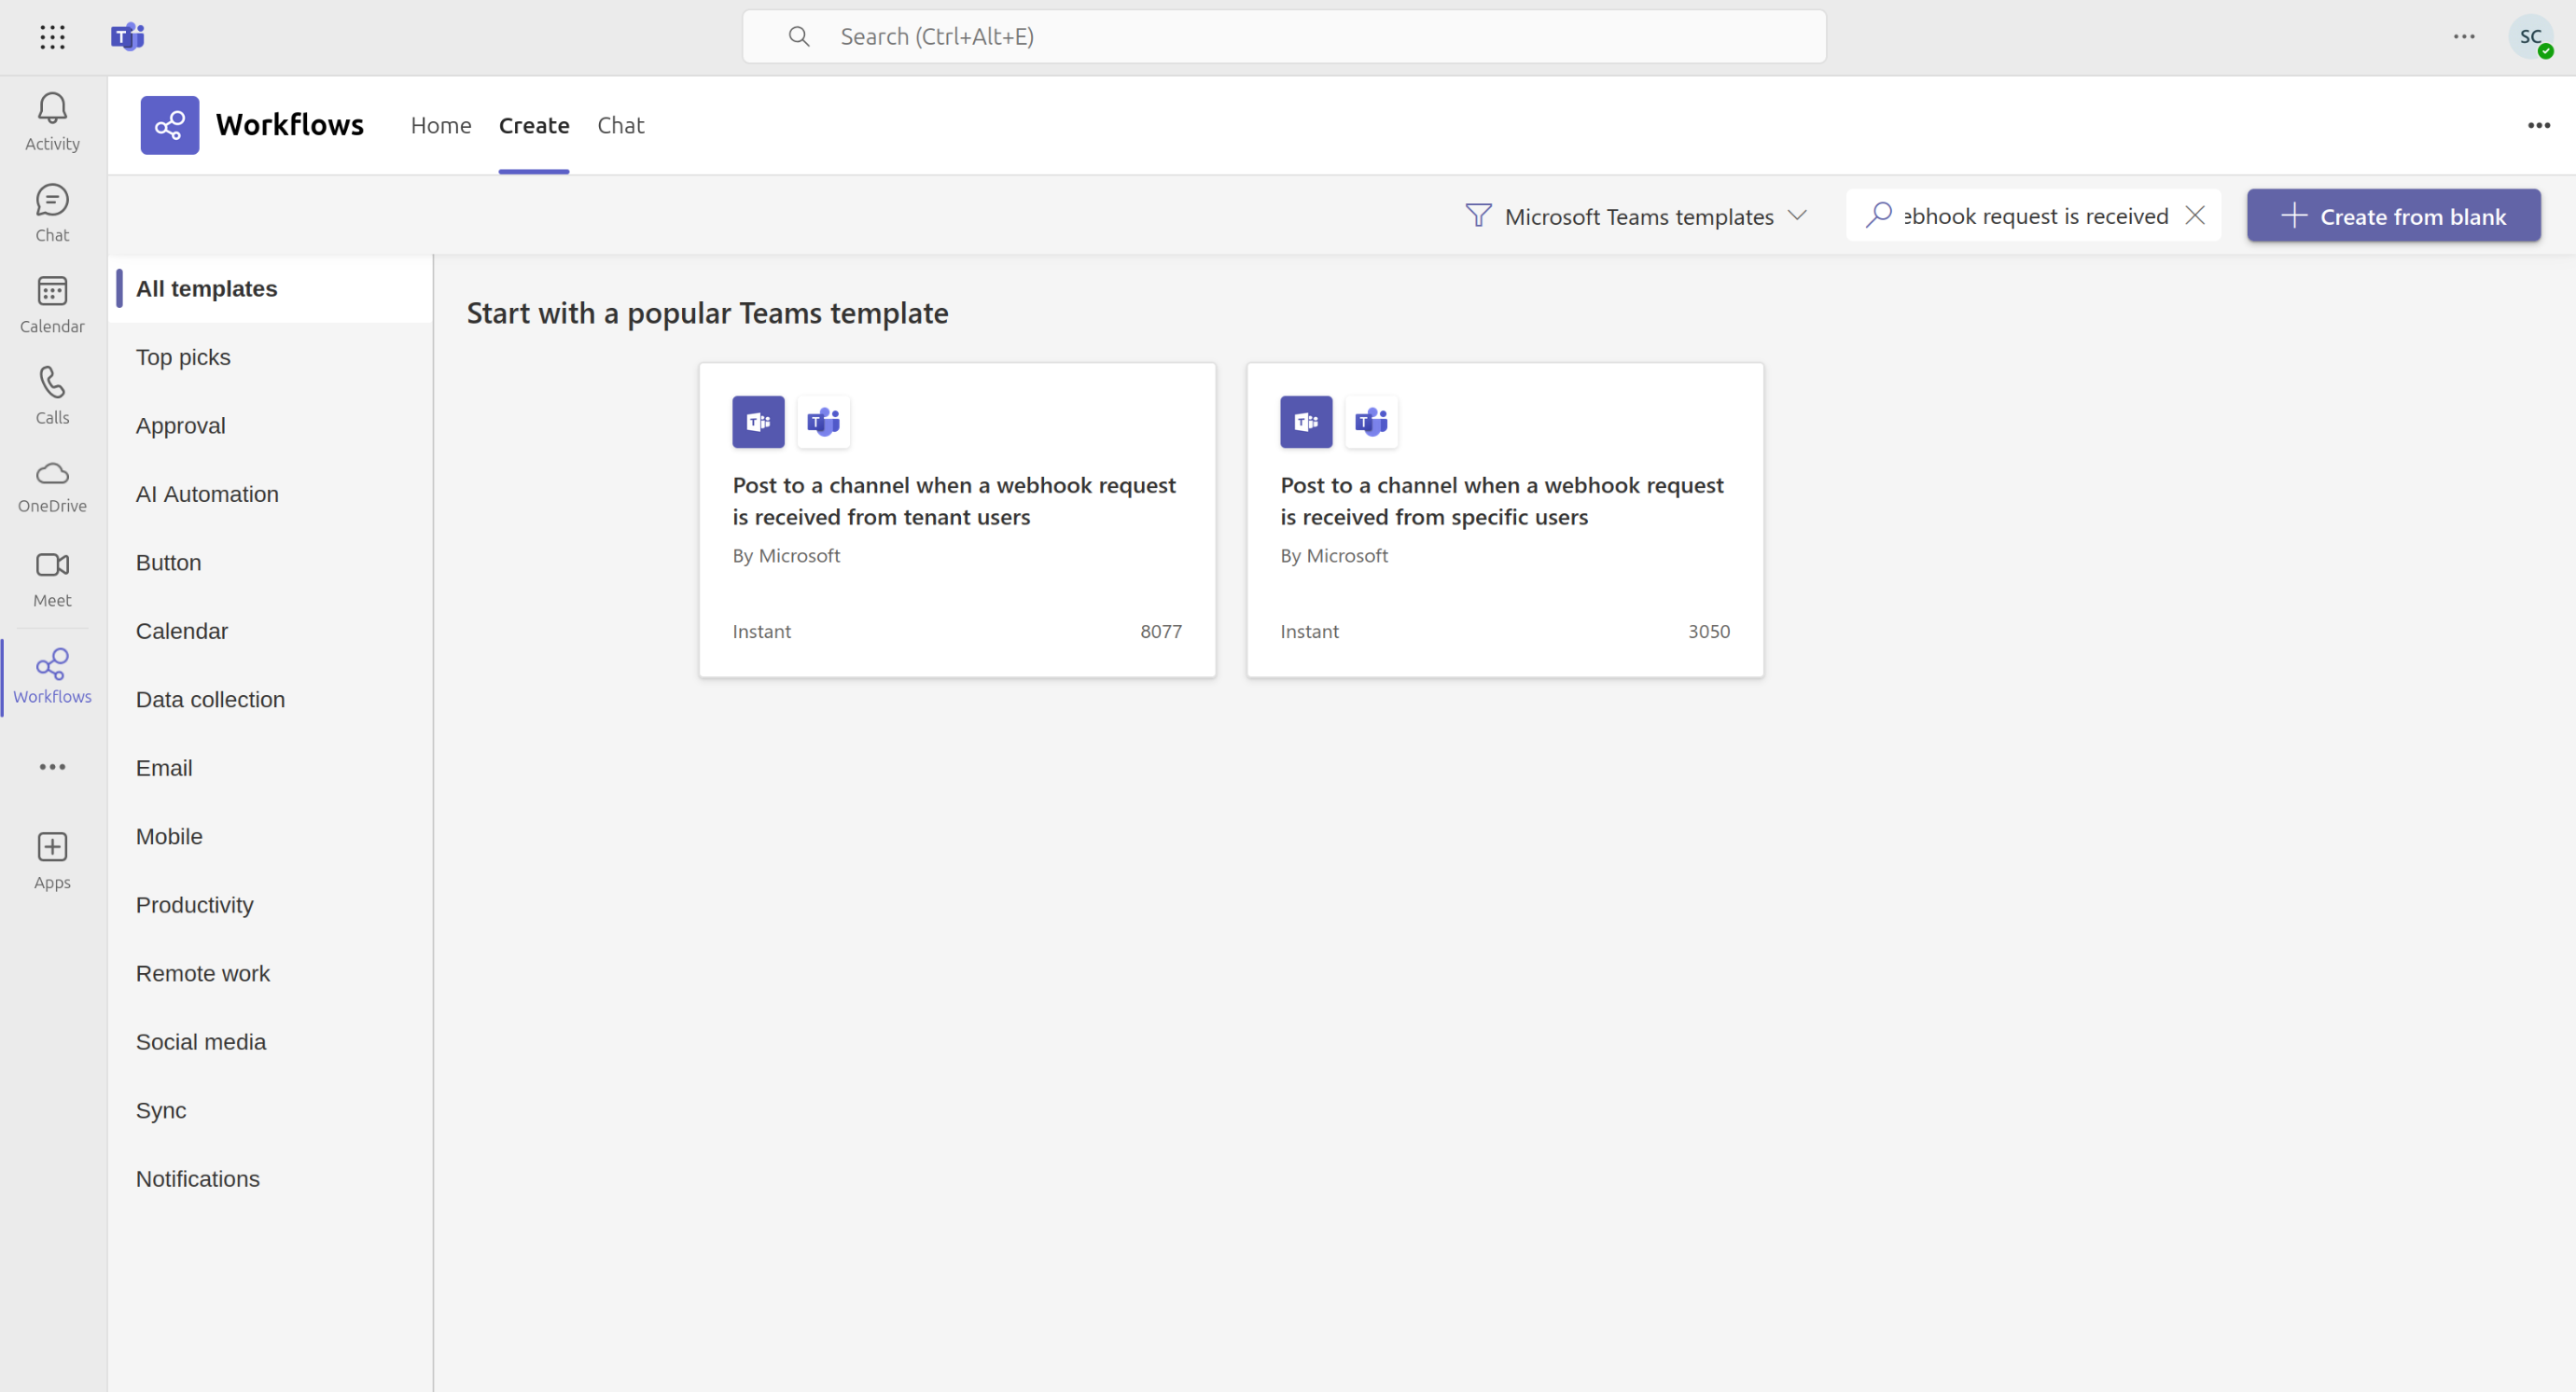
Name your flow : 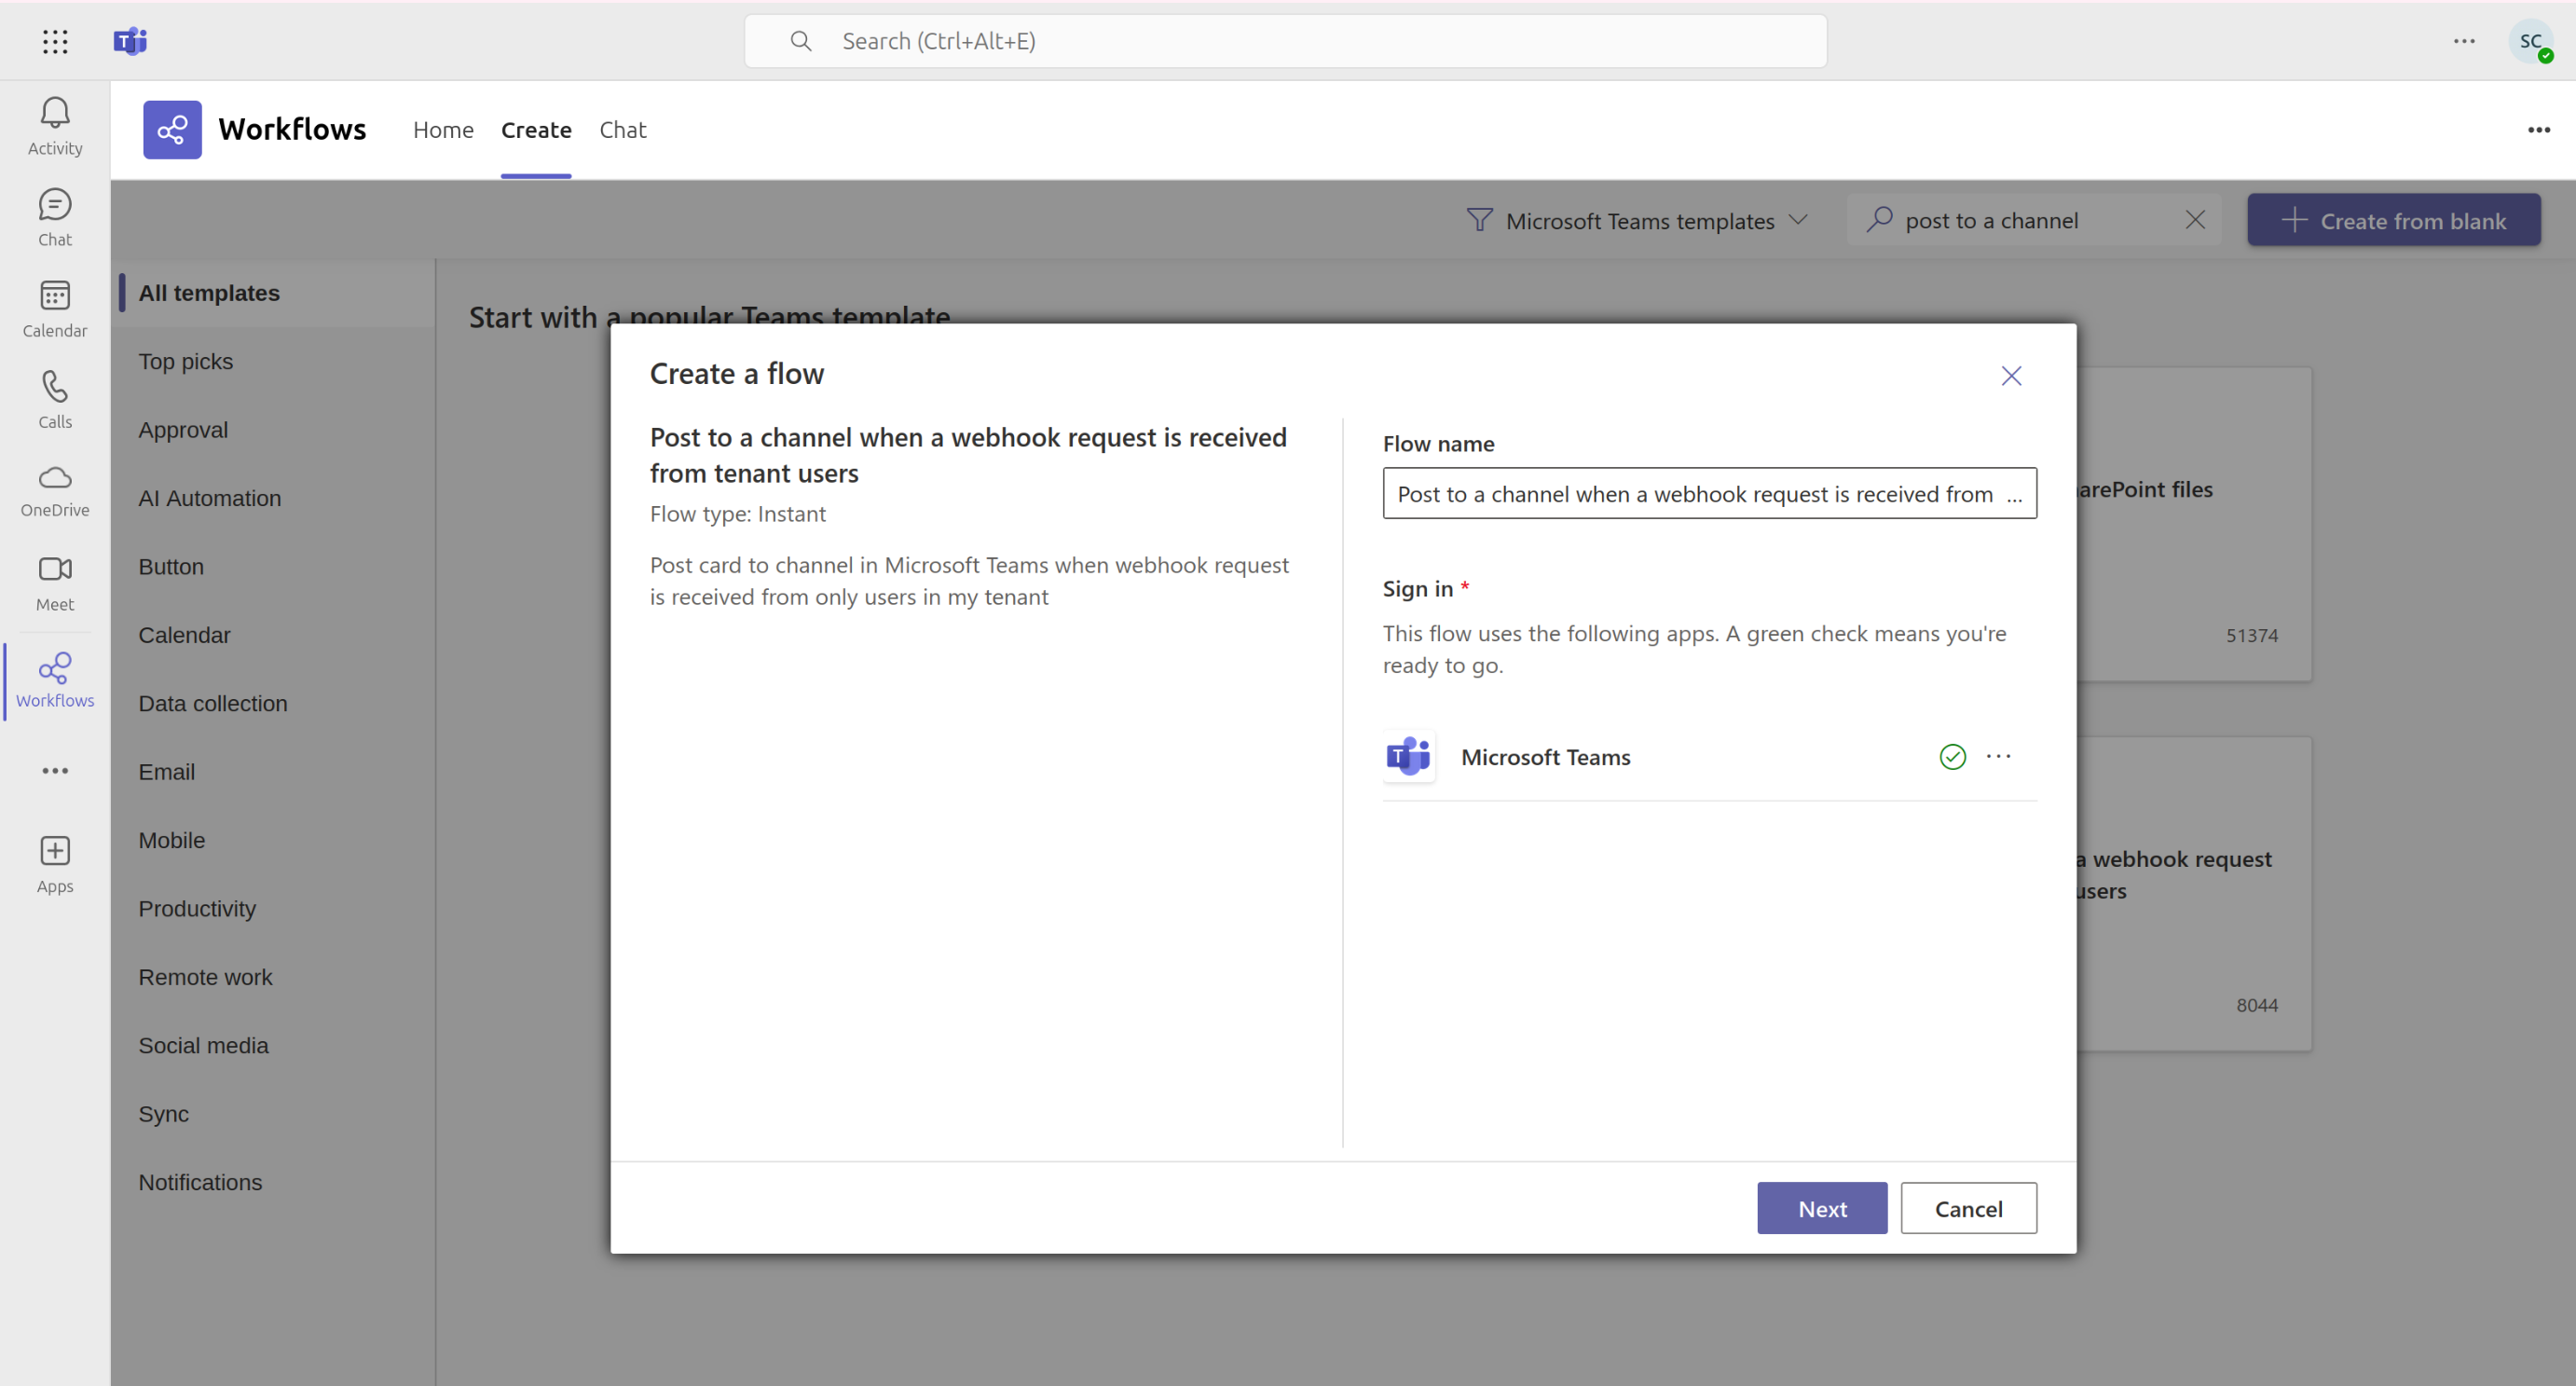
Select the Teams channel where you want Trapster notifications to appear: 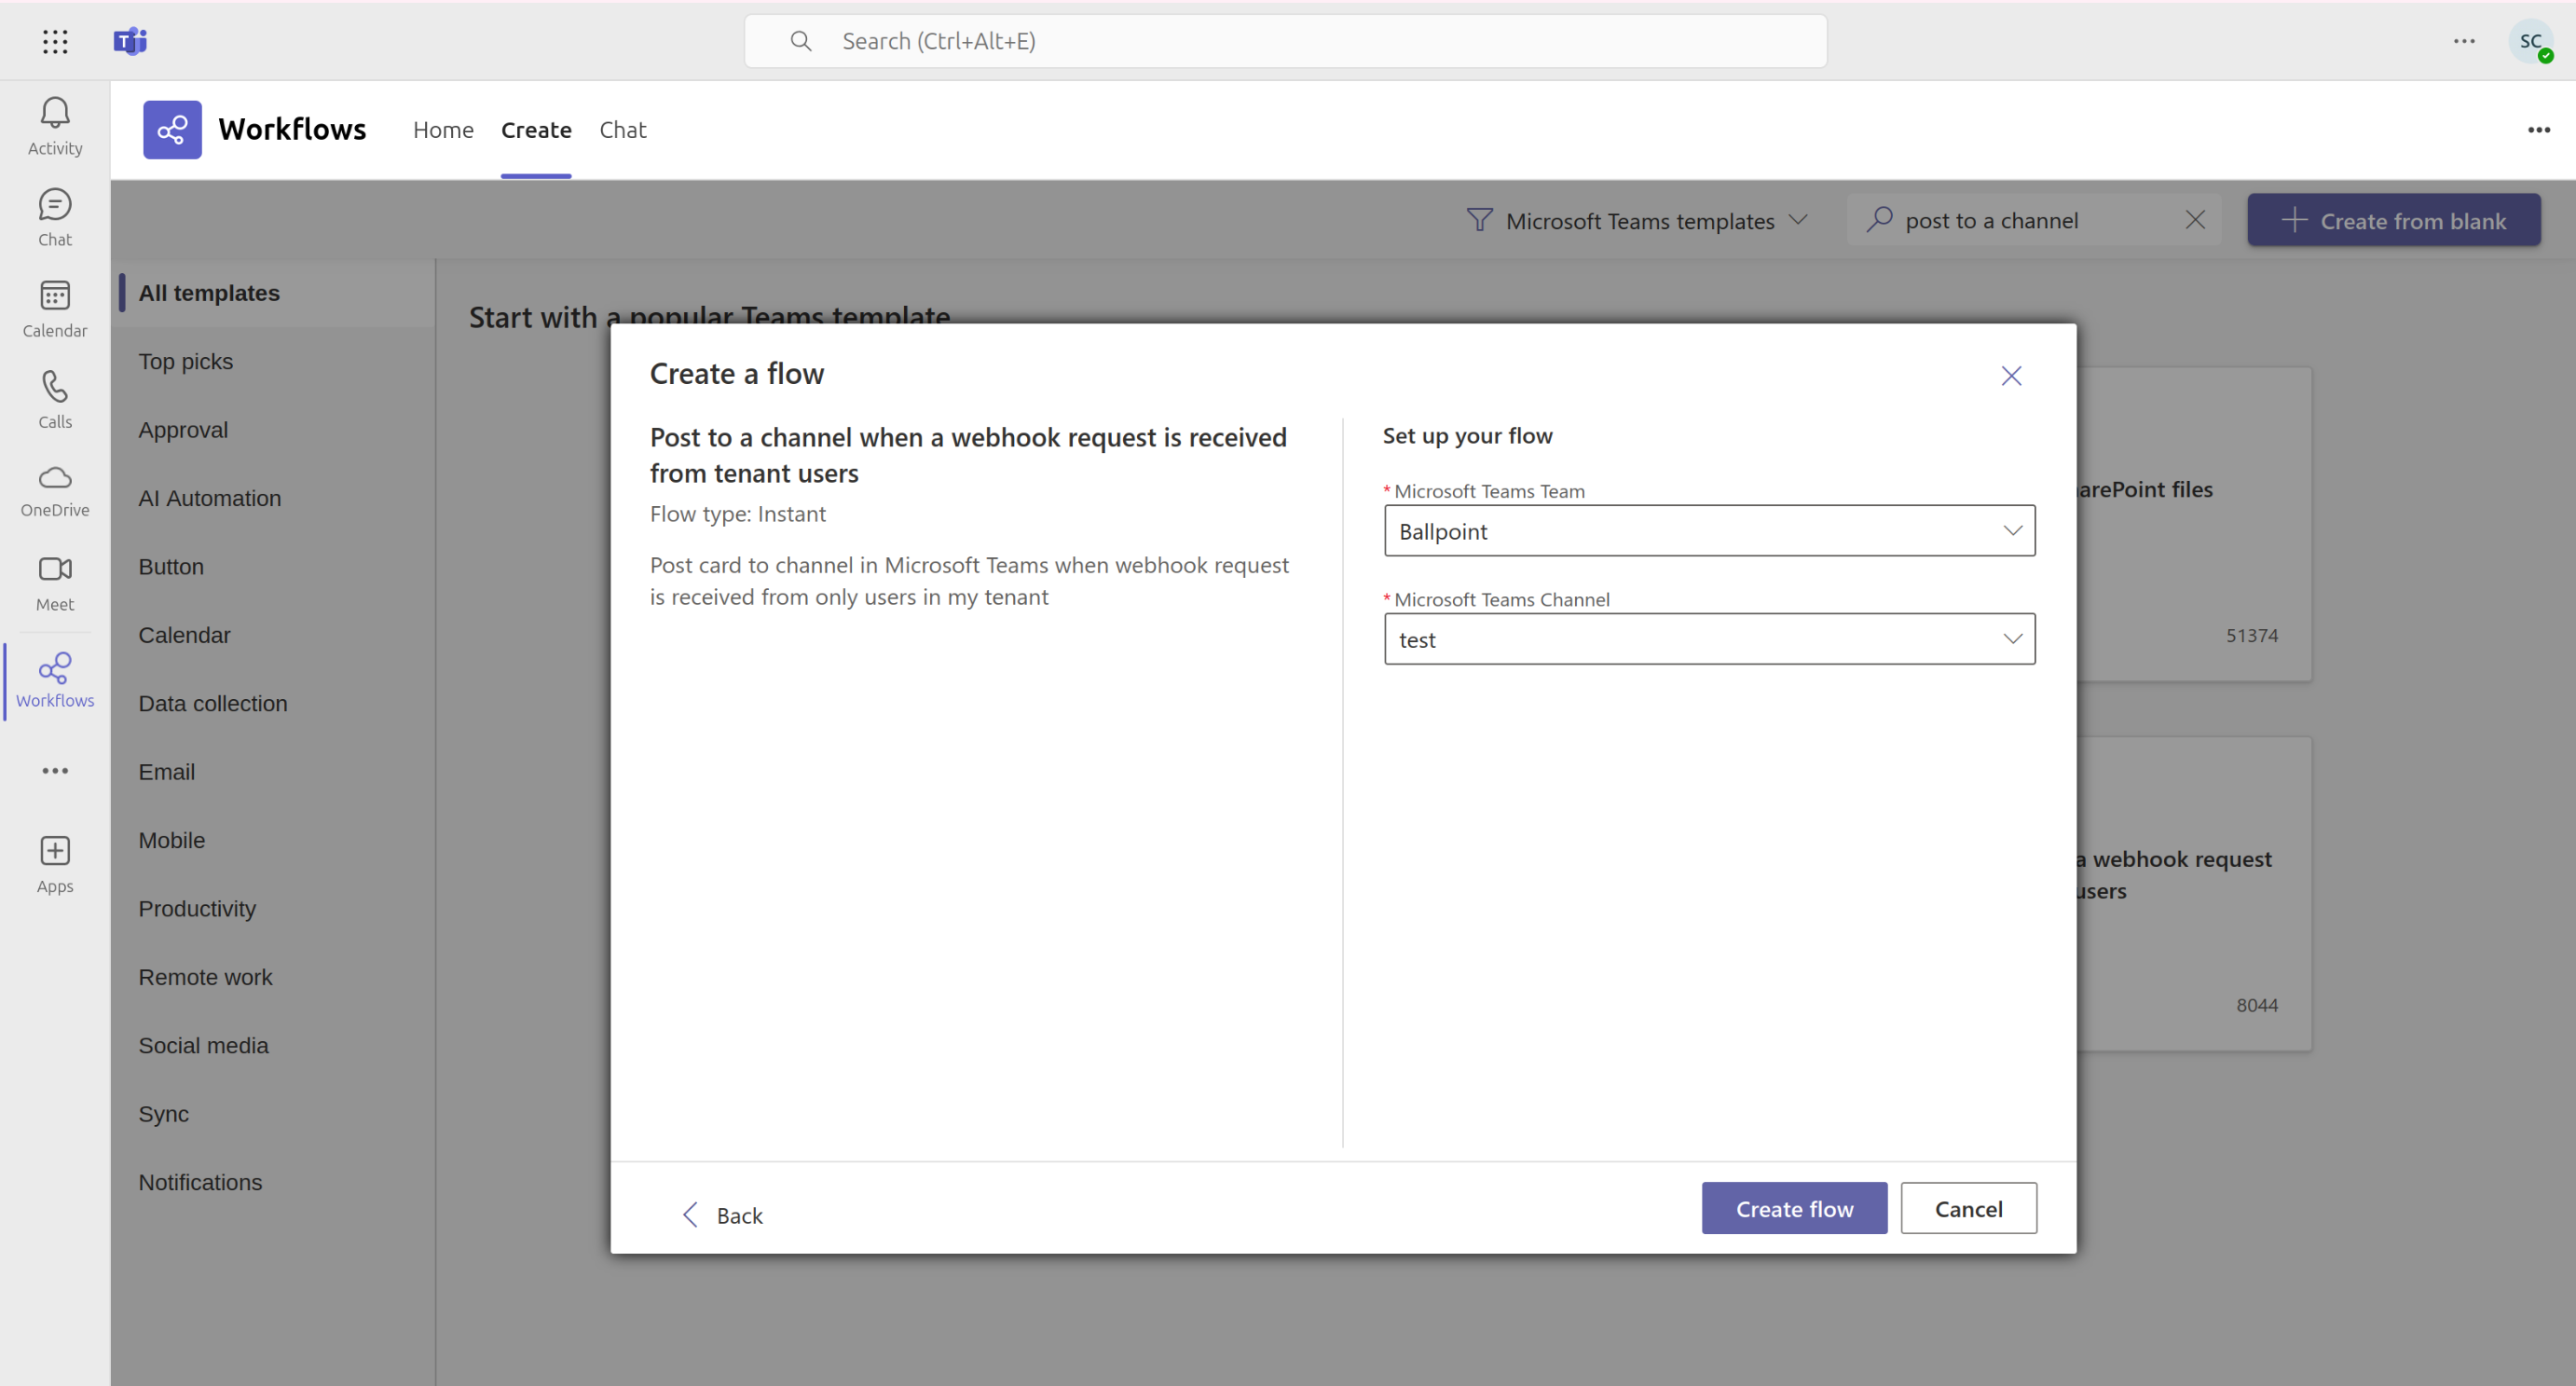
Then you will be shown your webhook url that we will copy and save for Trapster. 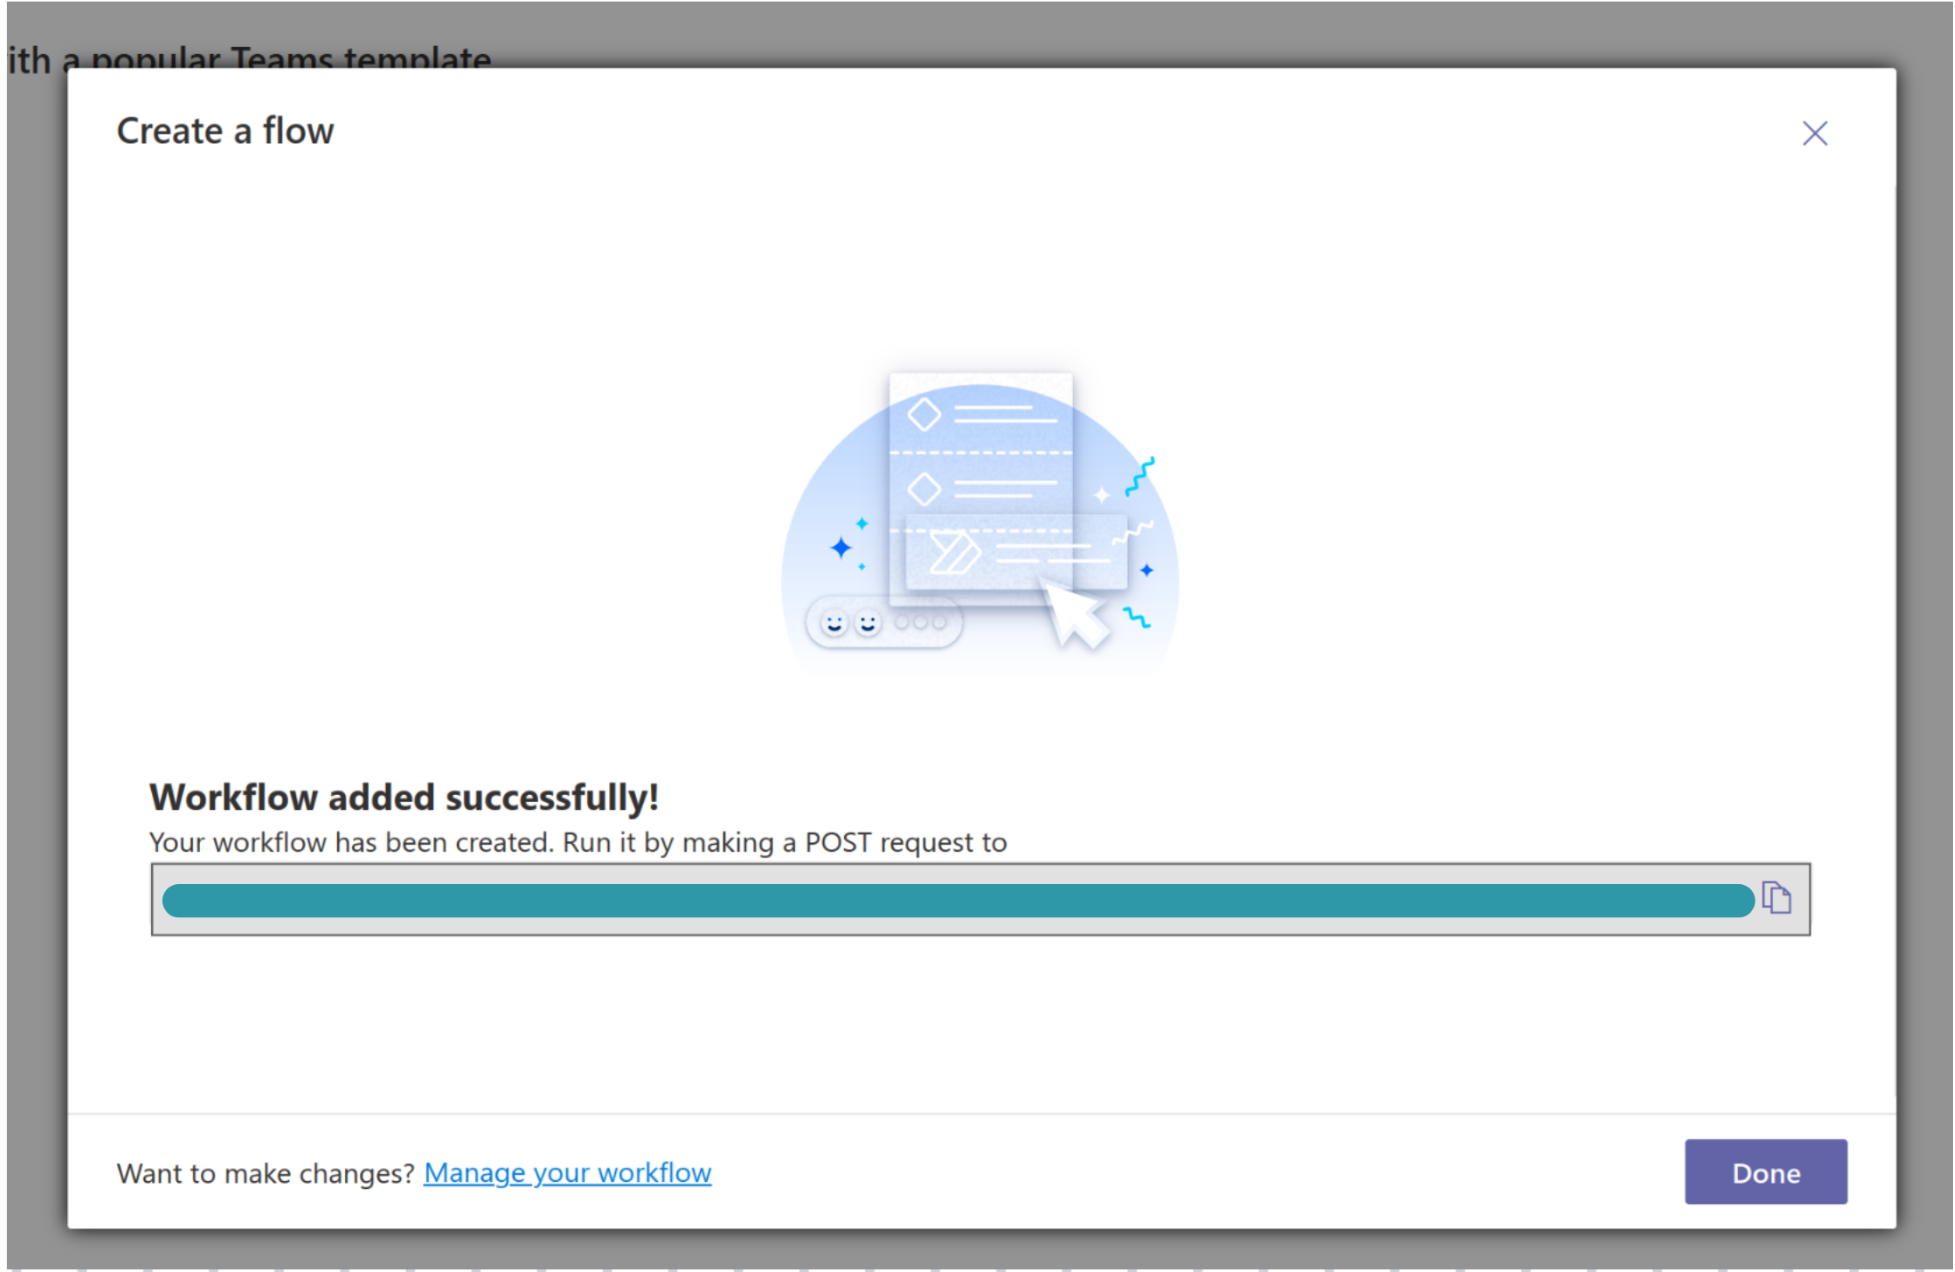
By default, the flow only accepts webhook requests from users in your tenant. You can modify this to accept requests from anyone. At the Workflows Home, select the three dots to the right of your flow to edit. You should see the following : 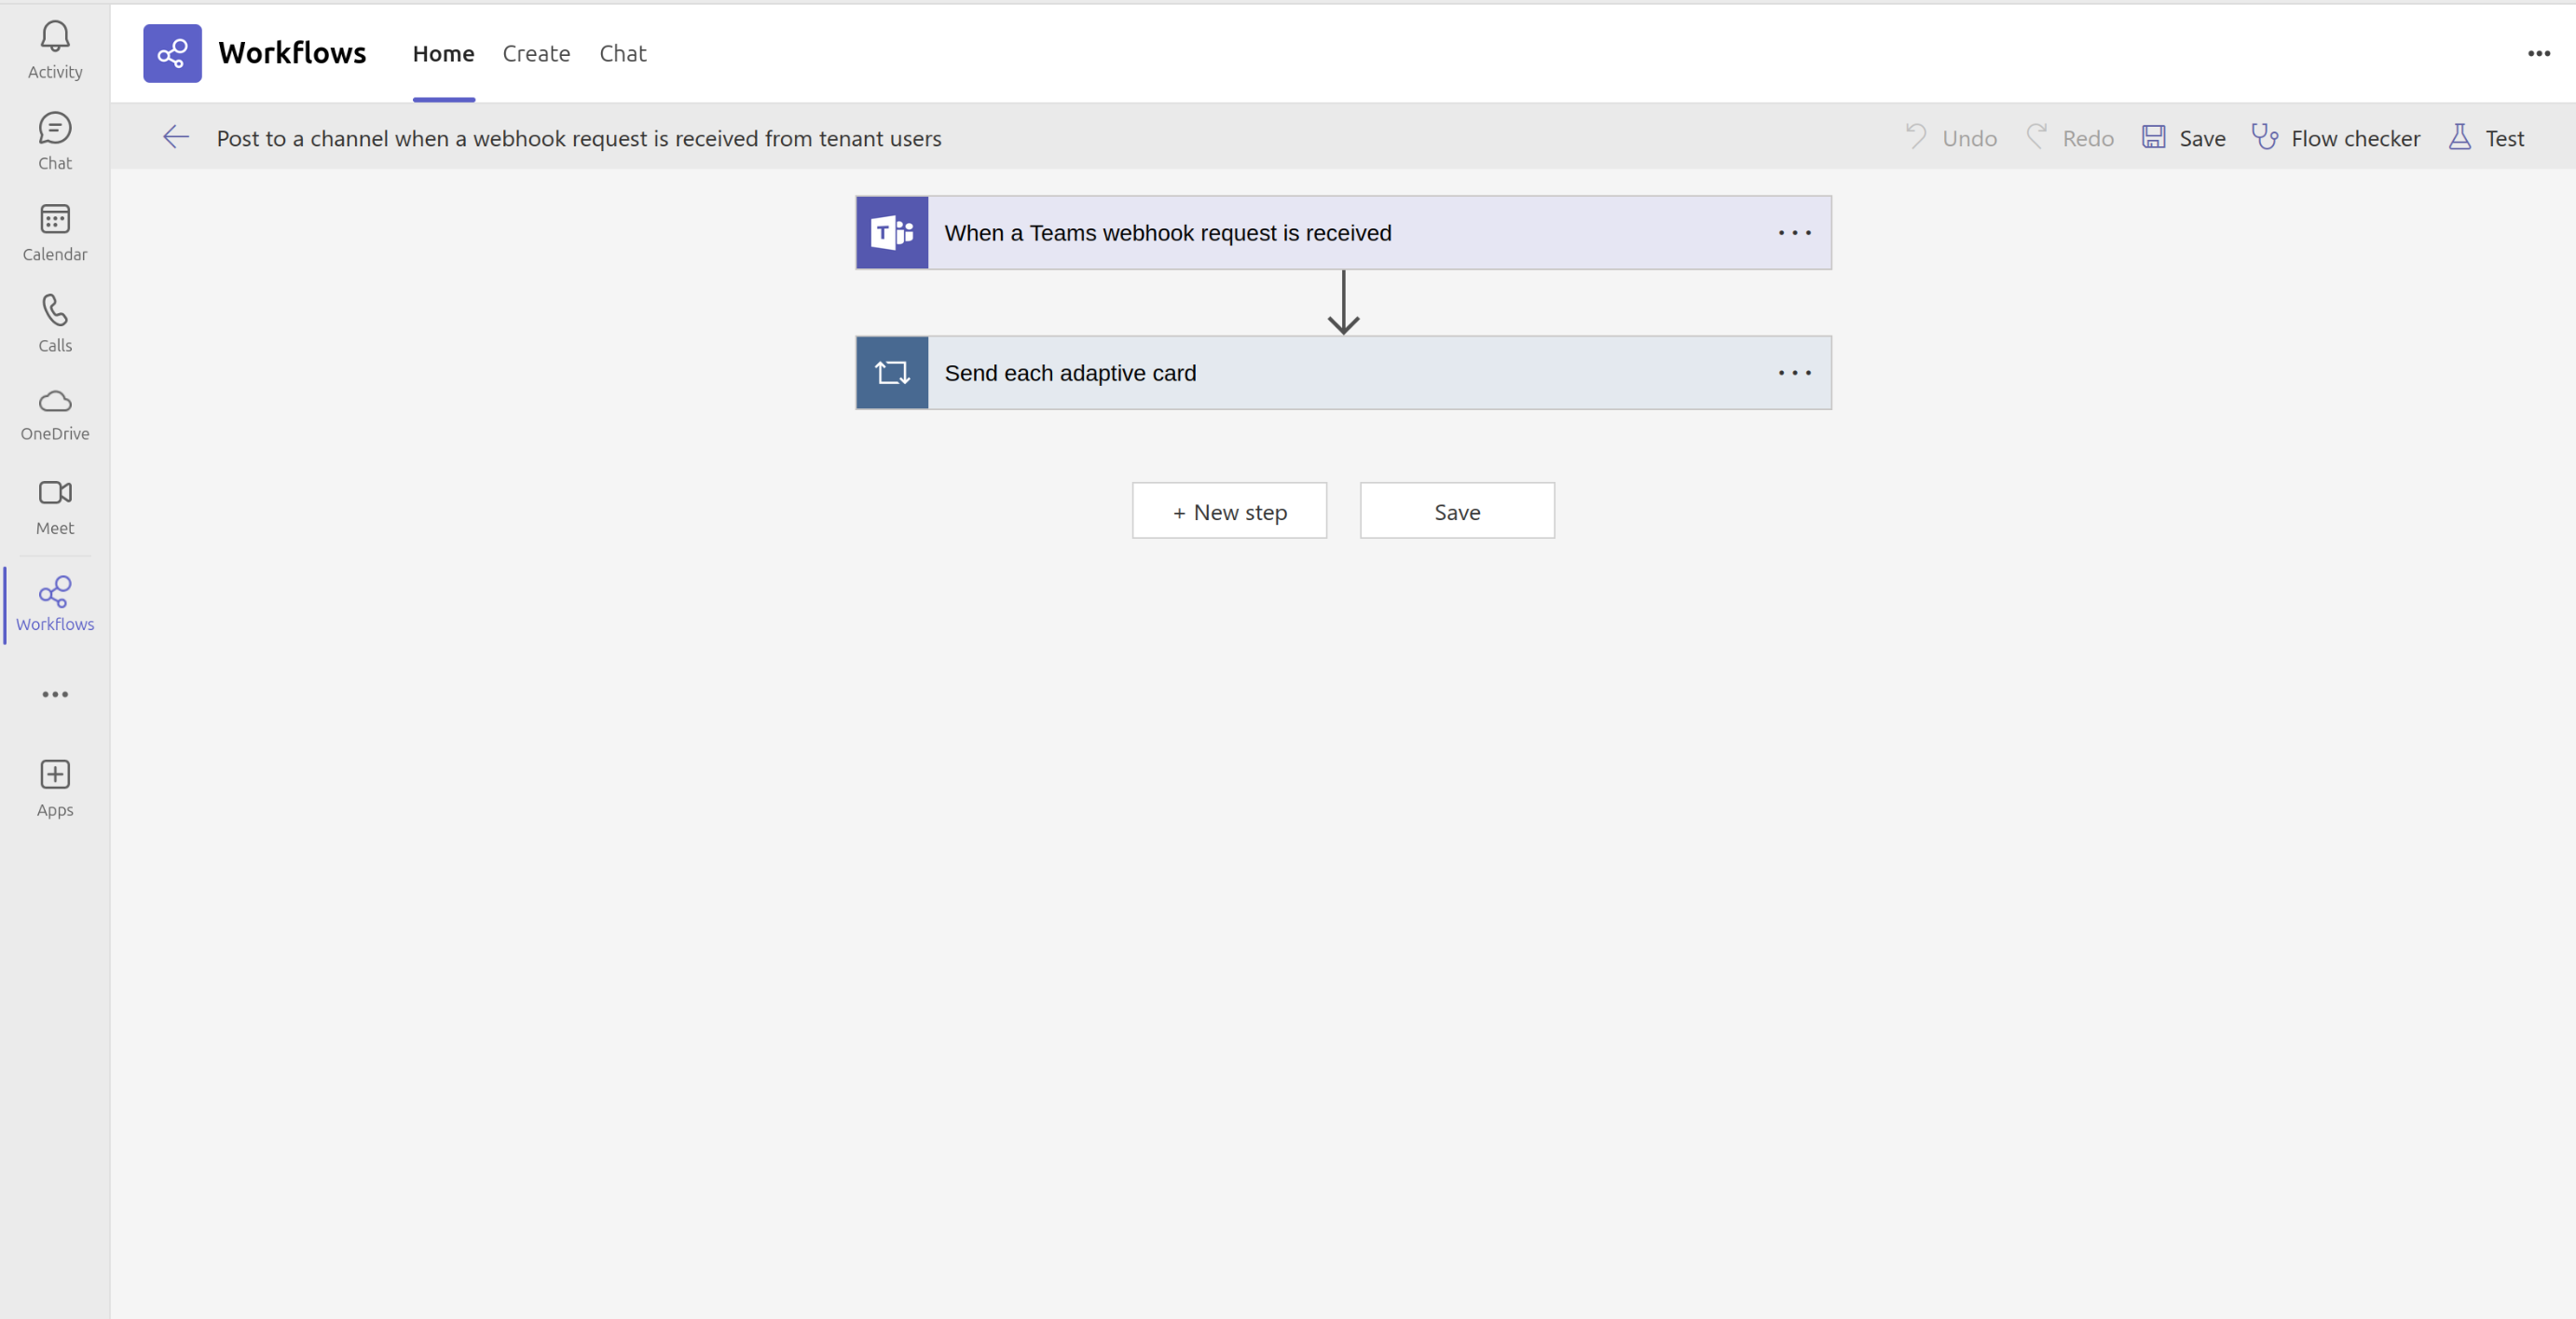
Just select When a Teams webhook request is received and then set Who can trigger the flow? to Anyone. Now save this model and we can start on Trapster. 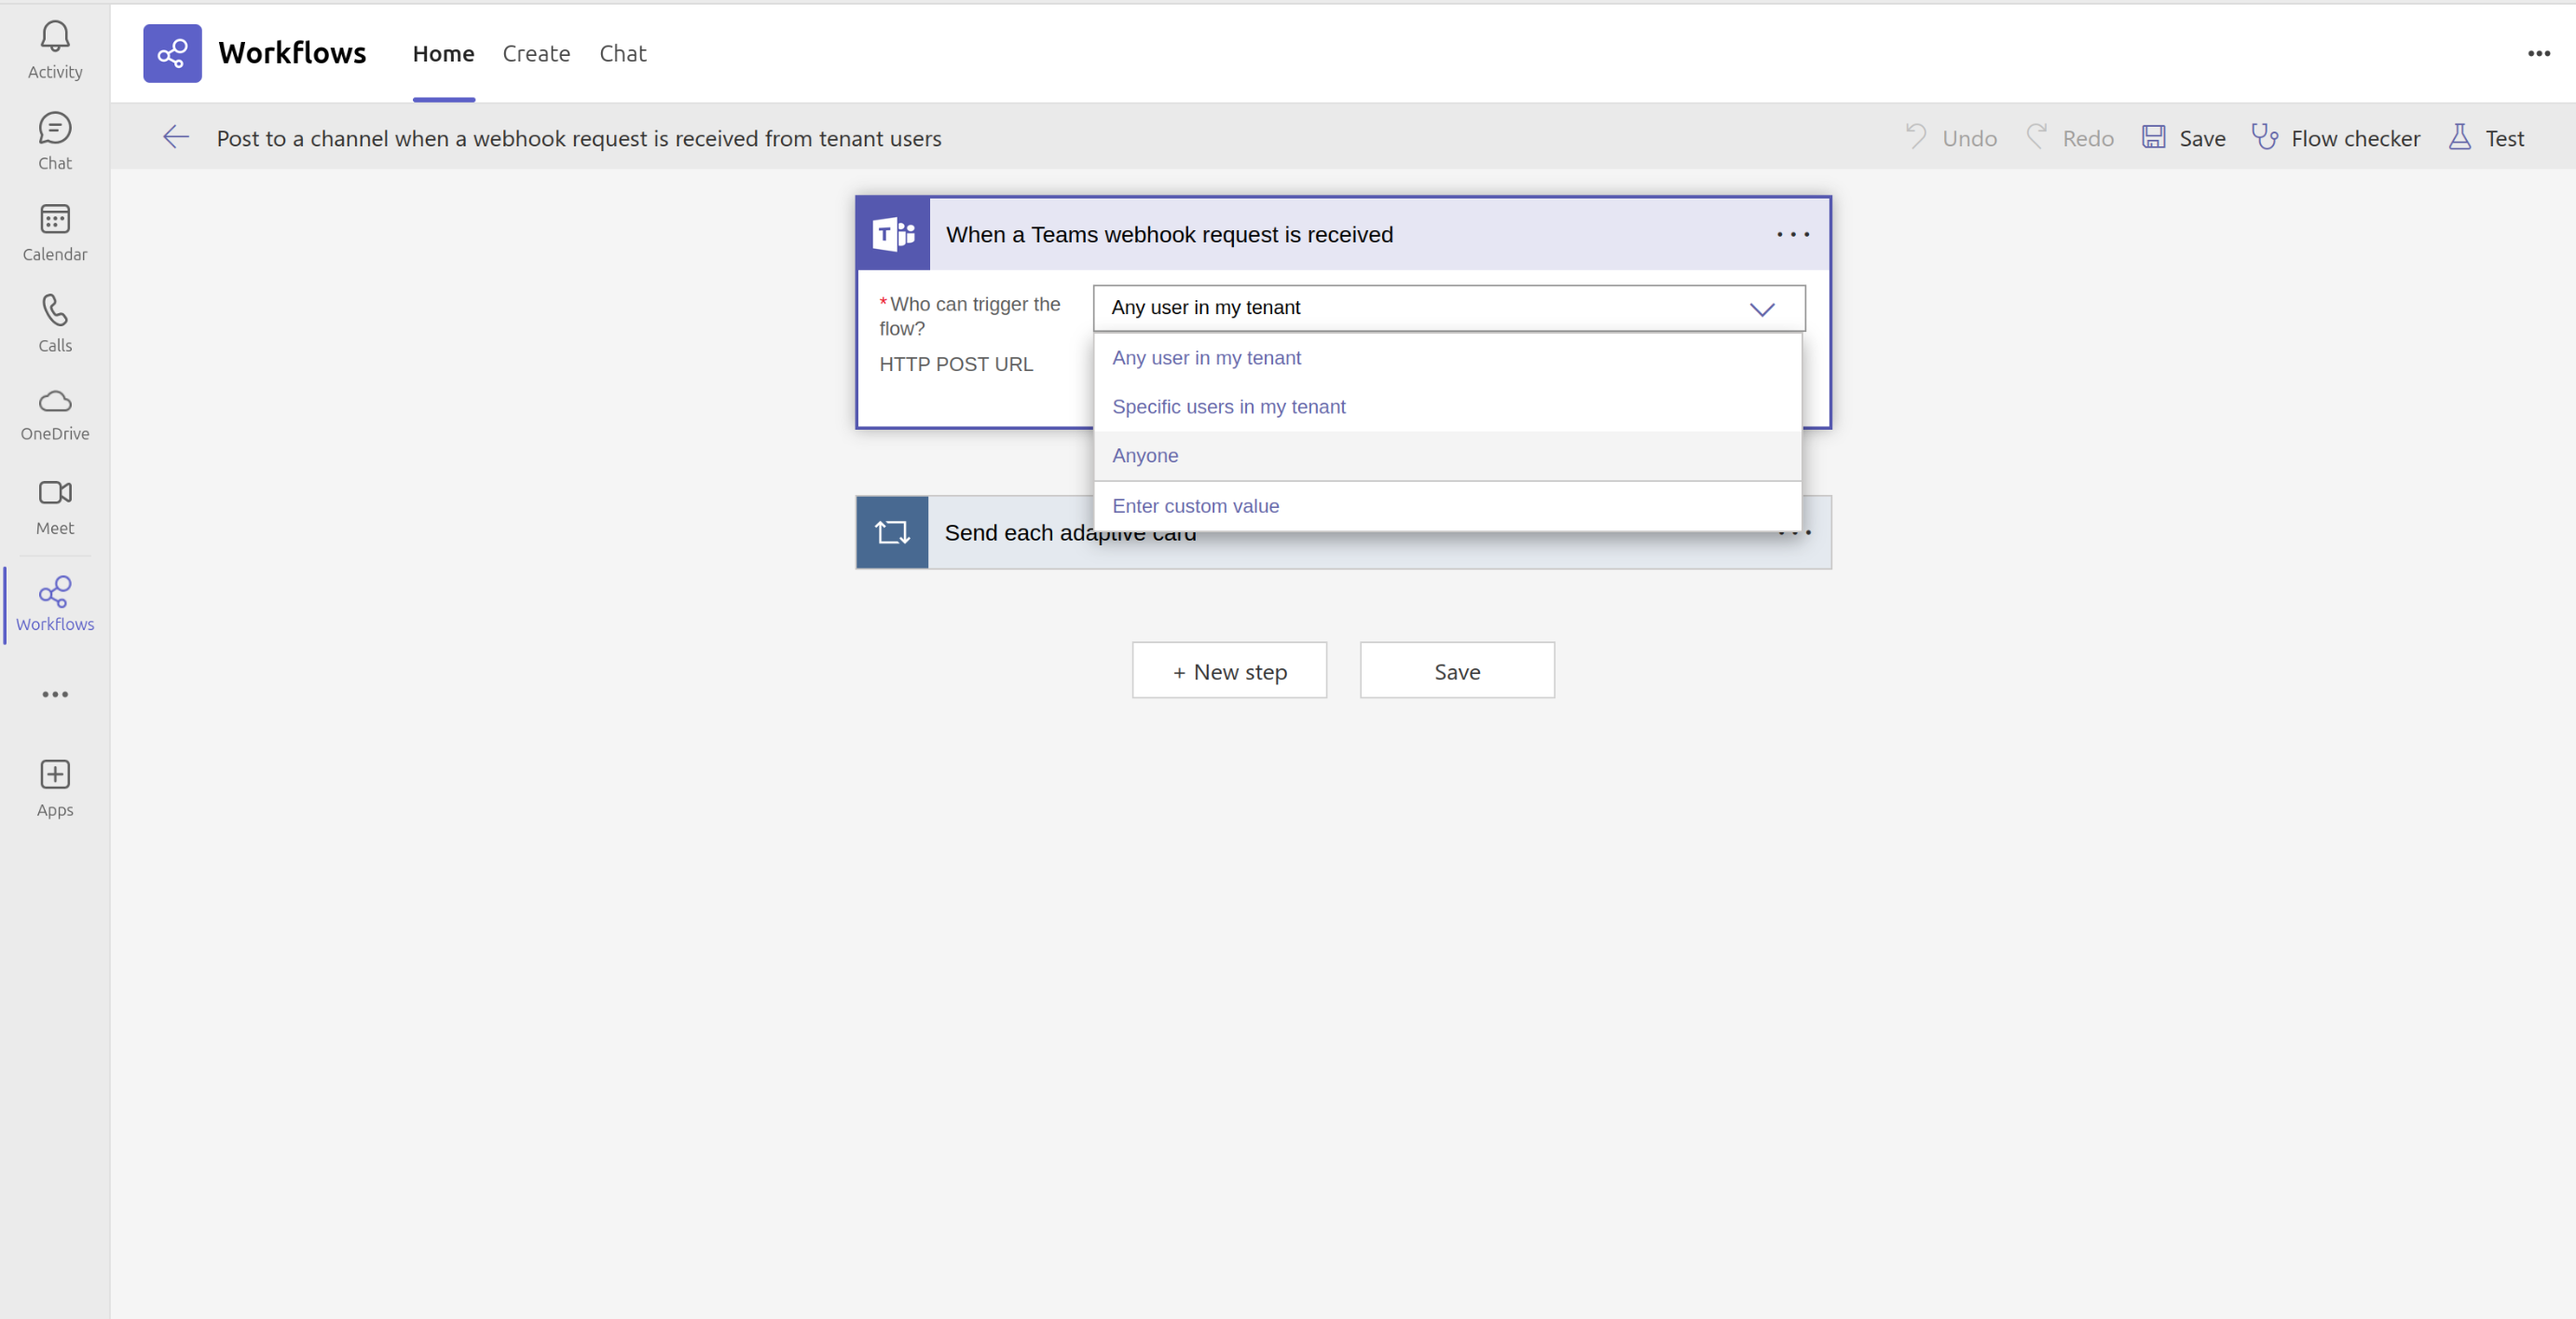
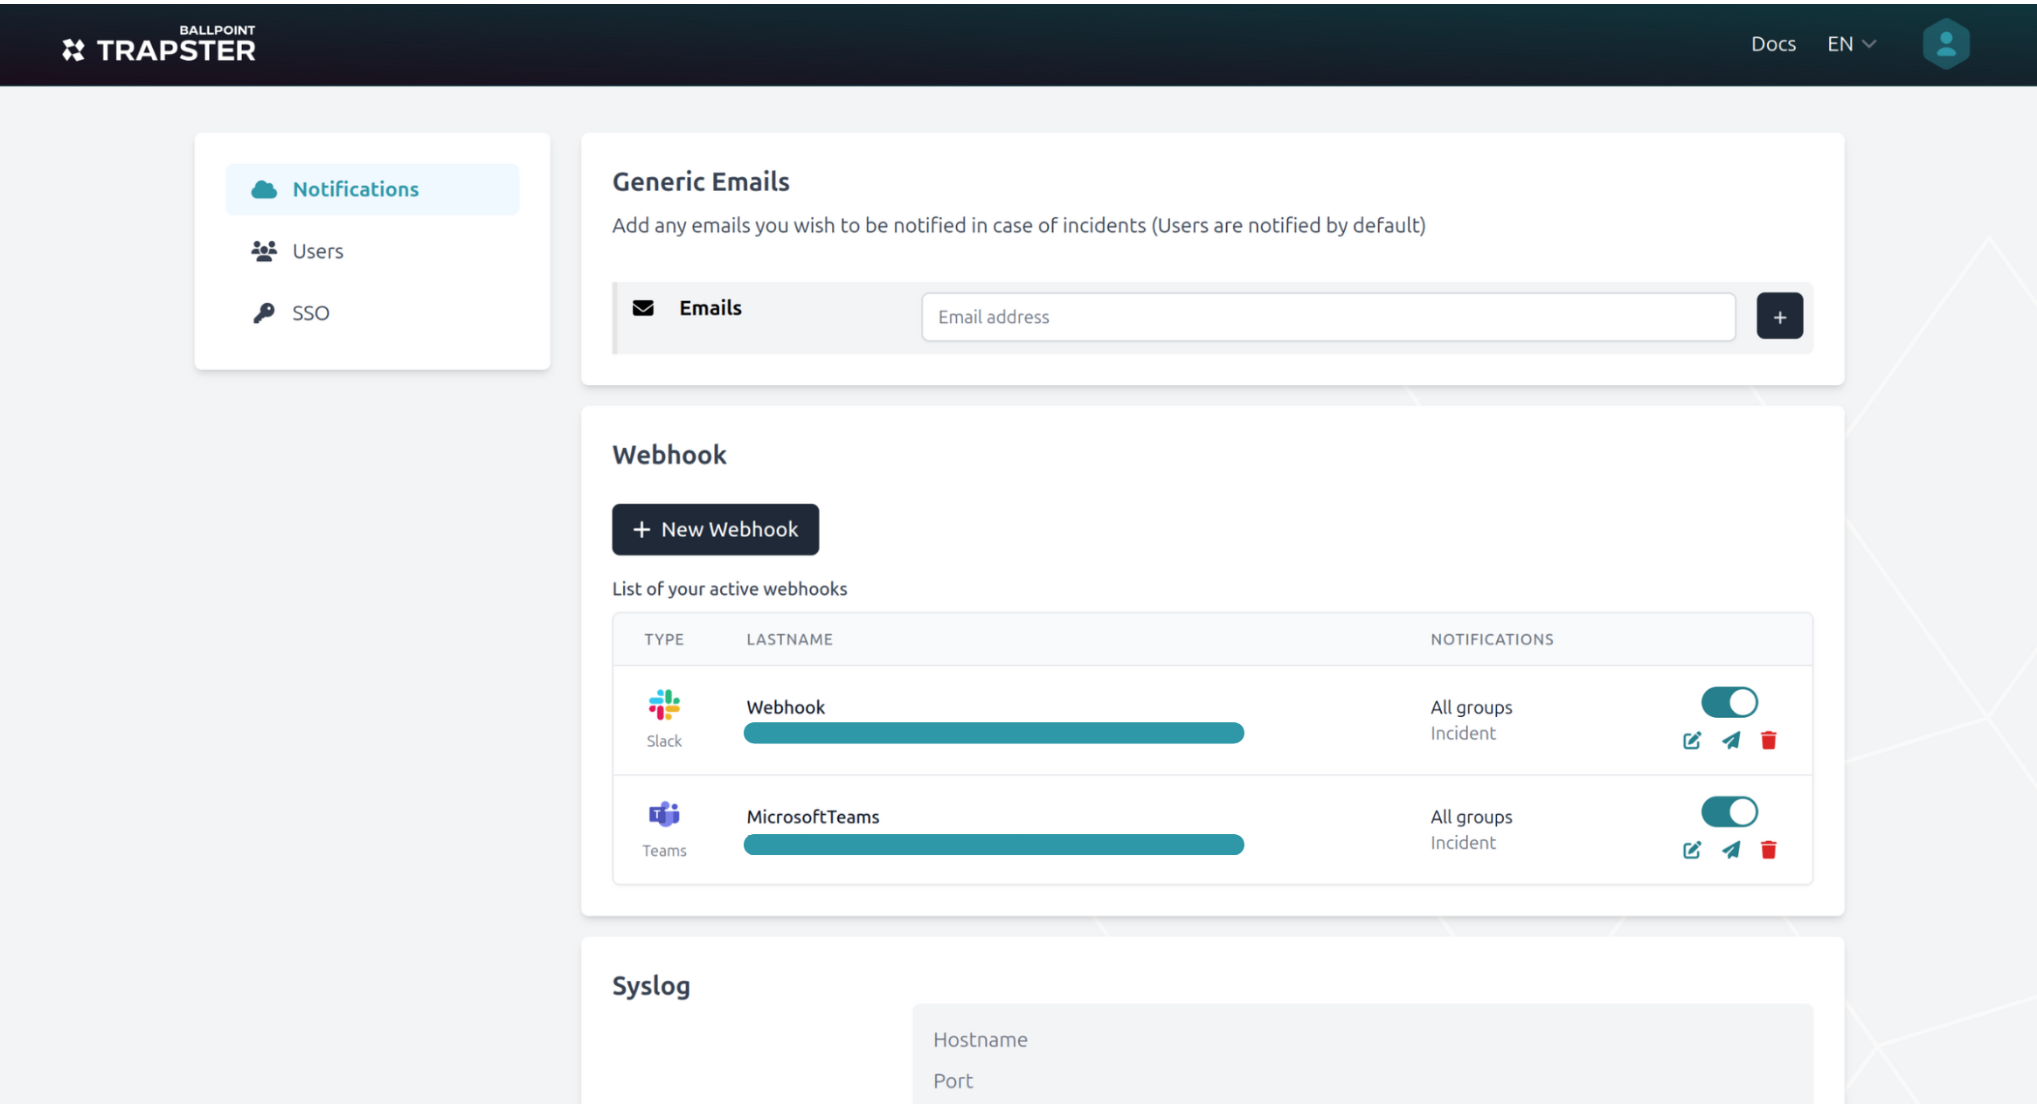
2. Connect the Webhook to Trapster
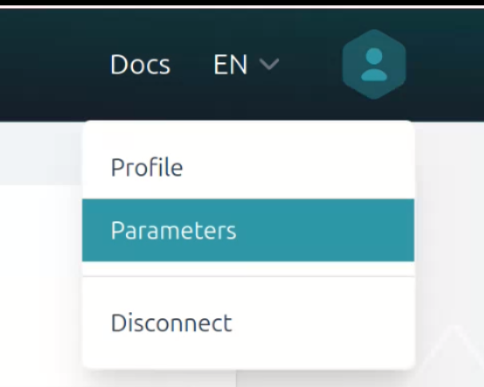
Taking the URL we were given by Microsoft it is easy to set it up for Trapster. Go to Parameters :
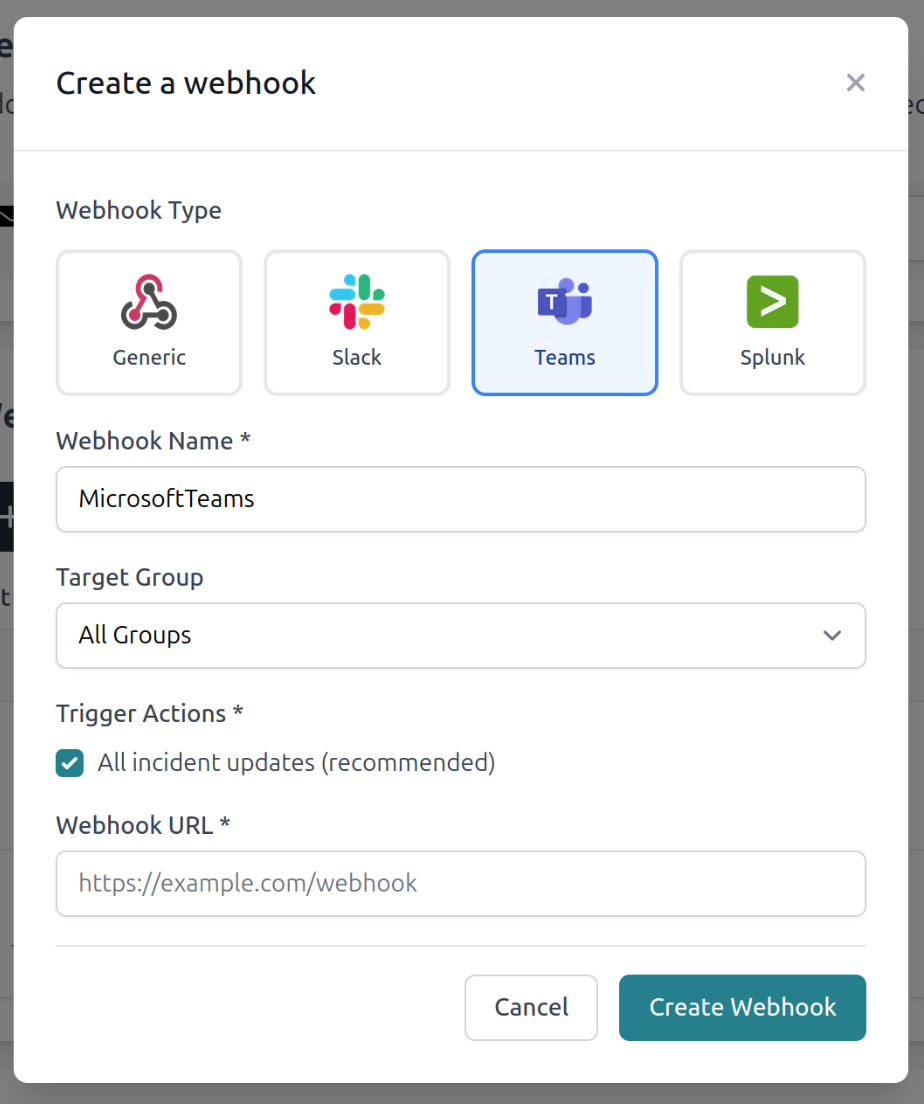
Then there is a section for Notifications and then Webhooks. Here select + New Webhook
Configure your webhook:
- Type: Select the Teams icon
- Name: Add a descriptive name
- URL: Paste in the Microsoft webhook URL
Now you are set to receive any Trapster updates on your Microsoft Teams channel!