Creating Your First Breadcrumb
1. Select Your Machine
Before creating a breadcrumb, you’ll need to select the machine you want the attacker to interact with. This is the destination the breadcrumb will route activity back to.
From the Trapster dashboard, select the appropriate machine and navigate to the Breadcrumbs tab.
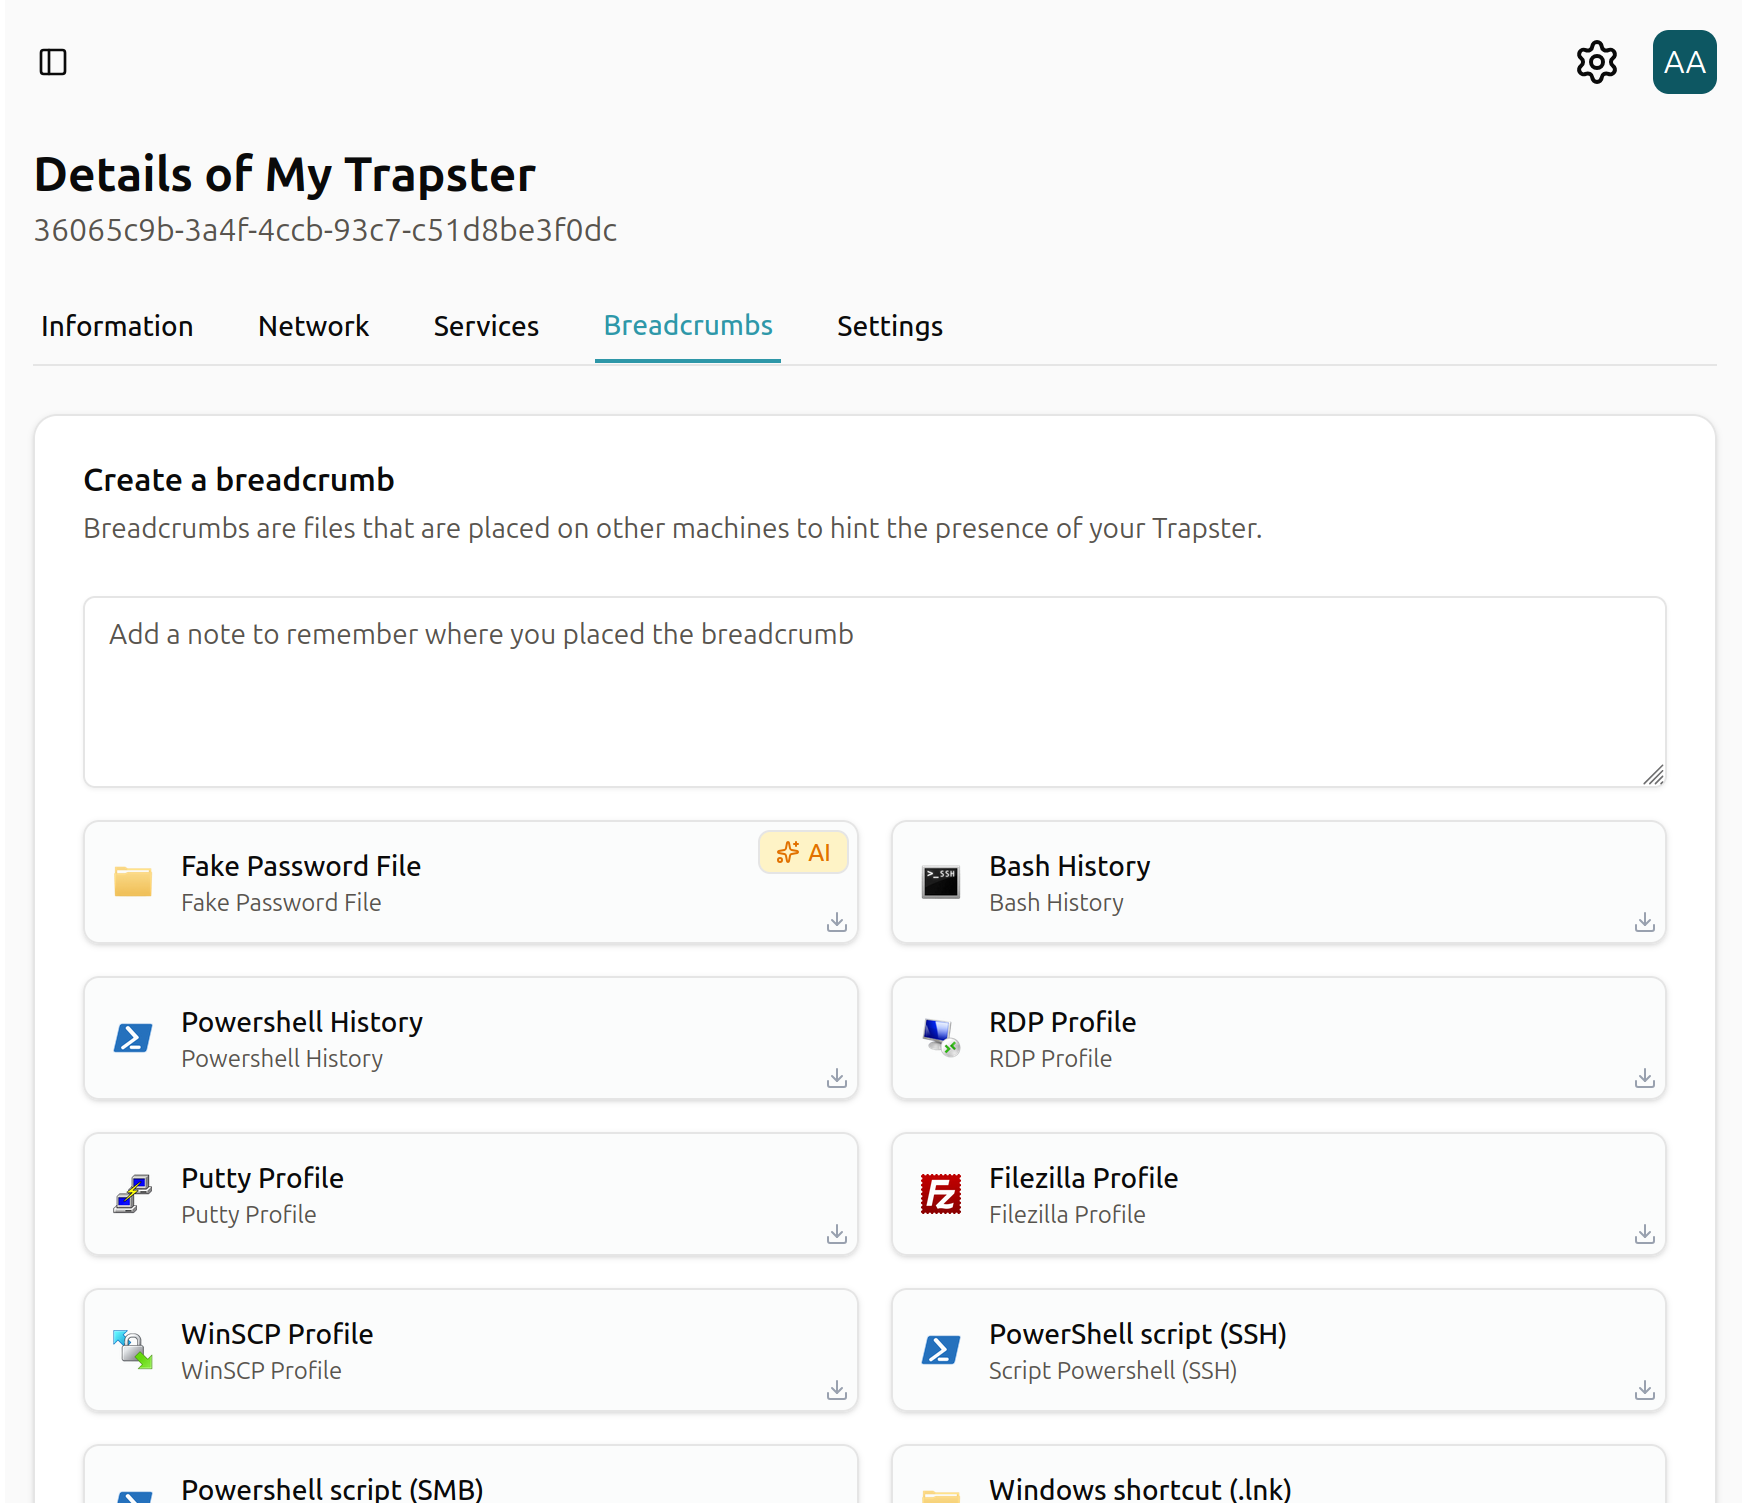
2. Choose a Breadcrumb
Inside the Breadcrumbs tab, you’ll see a list of available breadcrumb types. Each type is designed for a specific operating system or use case, such as scripts, files, or configuration artifacts.
For more detailed information on each breadcrumb type, see the following documentation:
3. Add Notes & Select Type
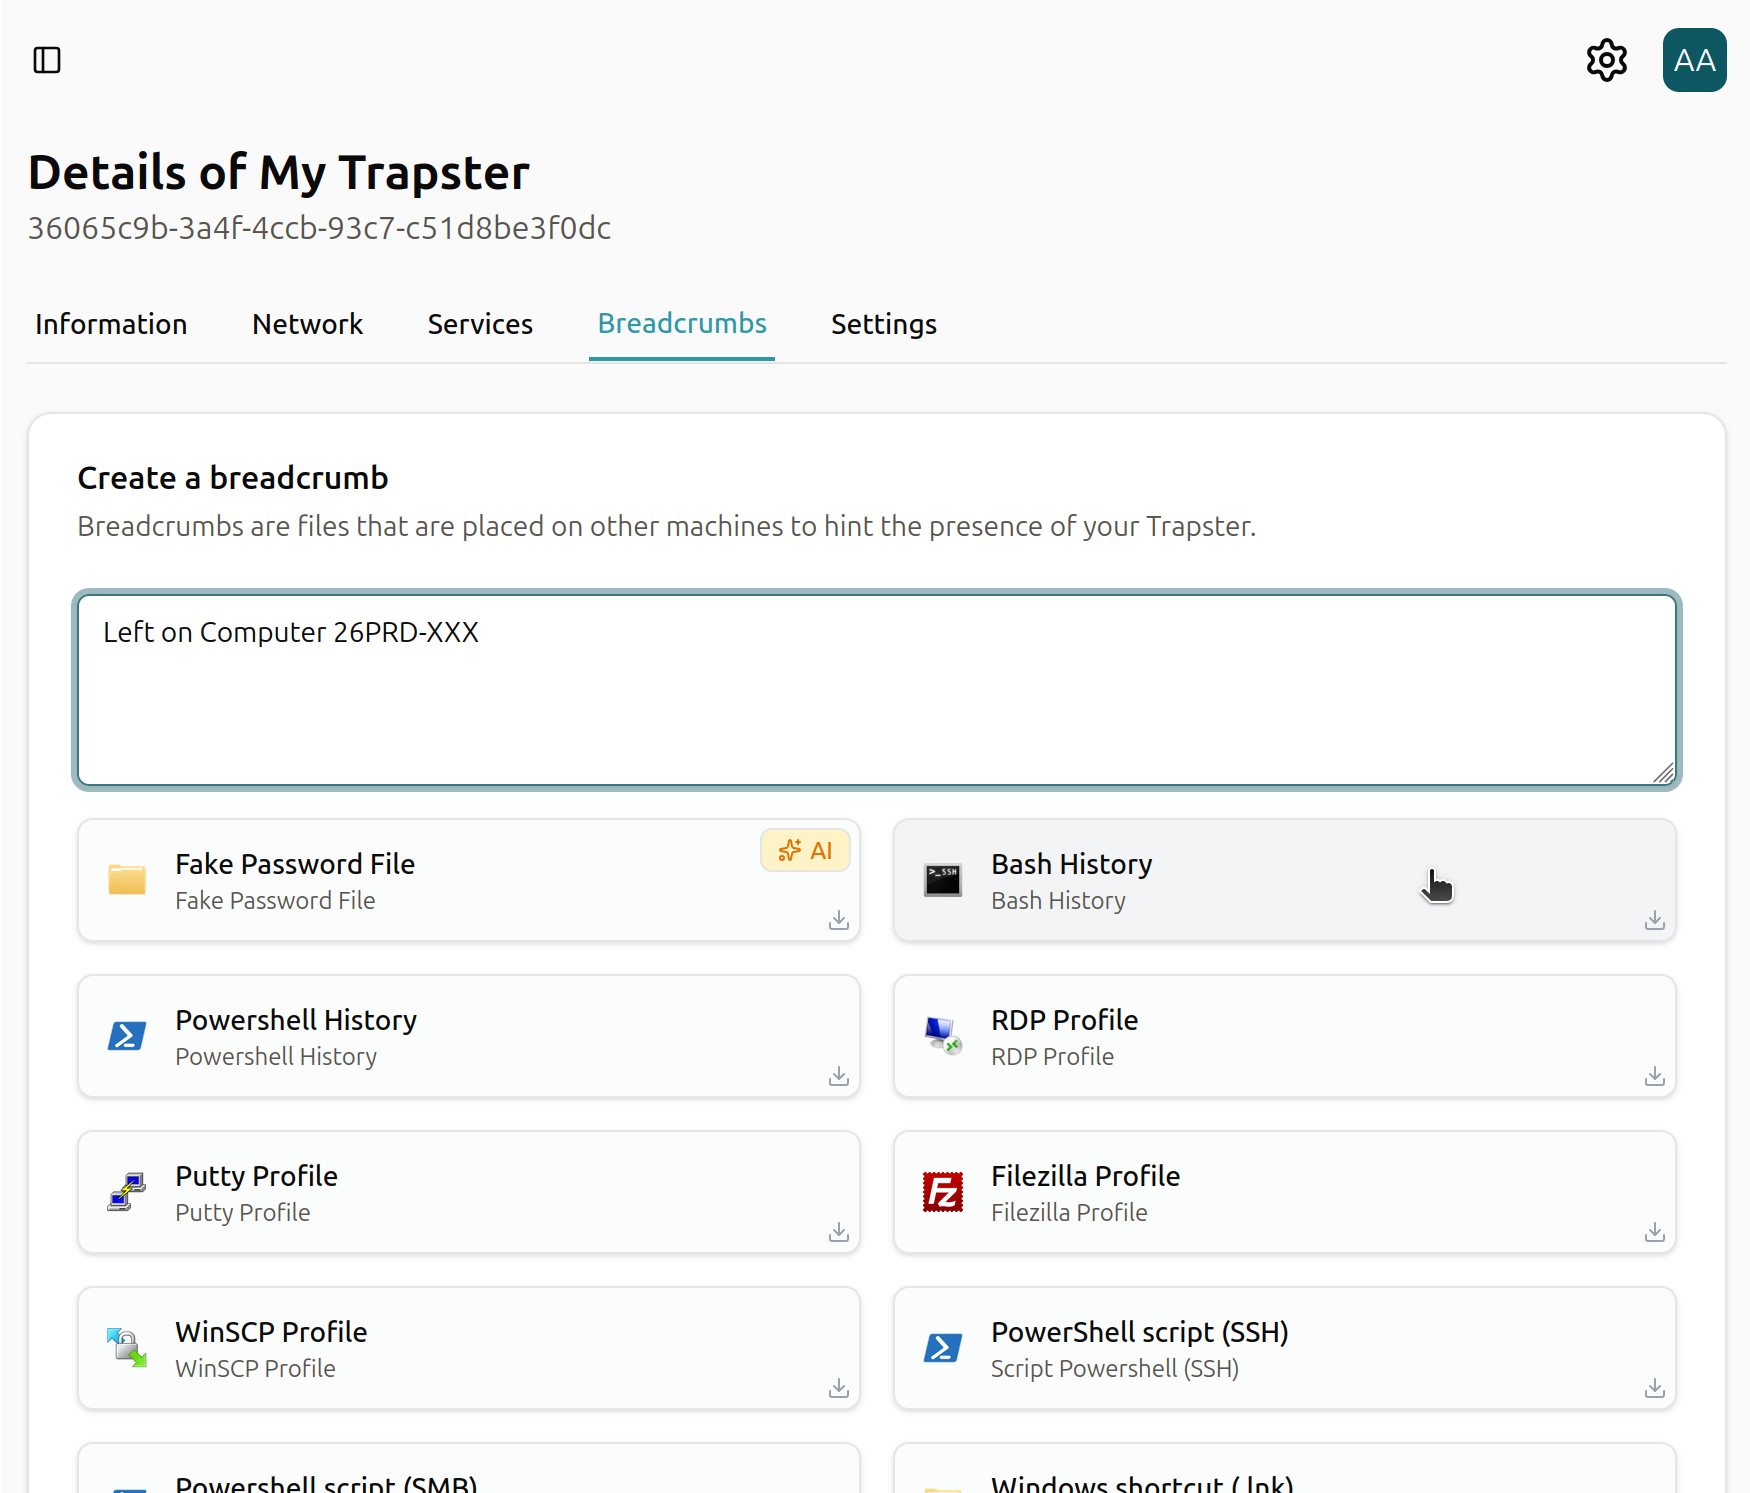
After selecting a breadcrumb, add a descriptive note. Notes help provide context for why the breadcrumb exists and where it will be deployed.
Next, select the breadcrumb type to generate. Depending on the selection, the breadcrumb may be a script, a file, or another deployable artifact.
Tip: Clear notes make investigation easier later. For example:
“Placed in Documents folder to detect unauthorized access attempts.”
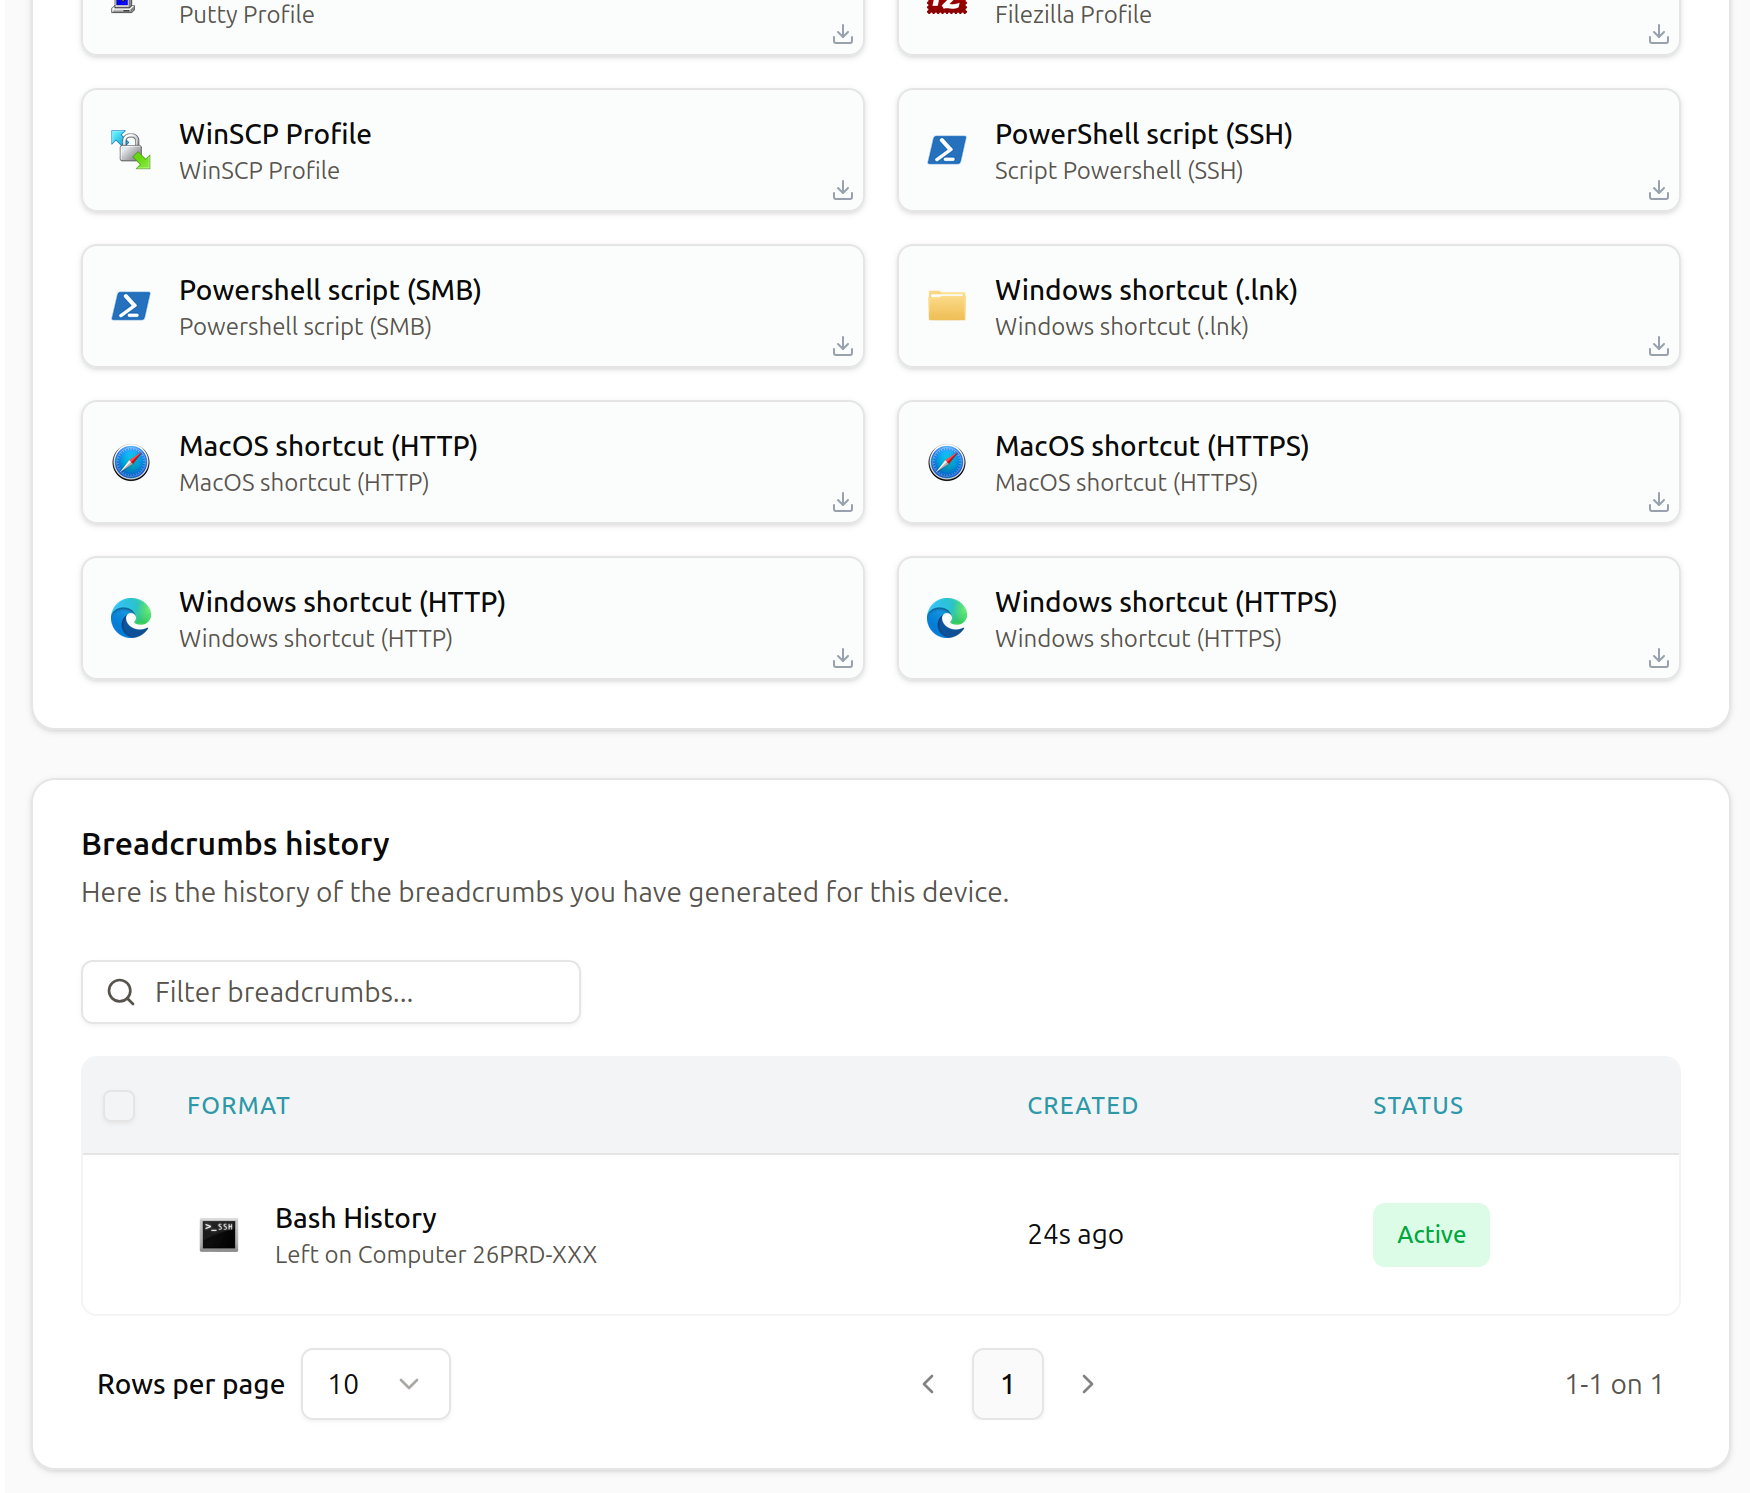
4. Use or Modify the Generated File
Once the breadcrumb is generated, Trapster will provide the file or script along with instructions for its use. The required action depends on the breadcrumb type:
- Run the script – Some breadcrumbs must be executed to become active.
- Place the file in a specific location – Others activate simply by existing in a folder (such as
Documents).
You can also:
- Modify the file to better fit your environment
- Download it for manual deployment
- Copy the contents into another workflow or automation