
Creating Webhooks
To add webhooks, go to Settings and scroll down to Integrations > Webhooks.
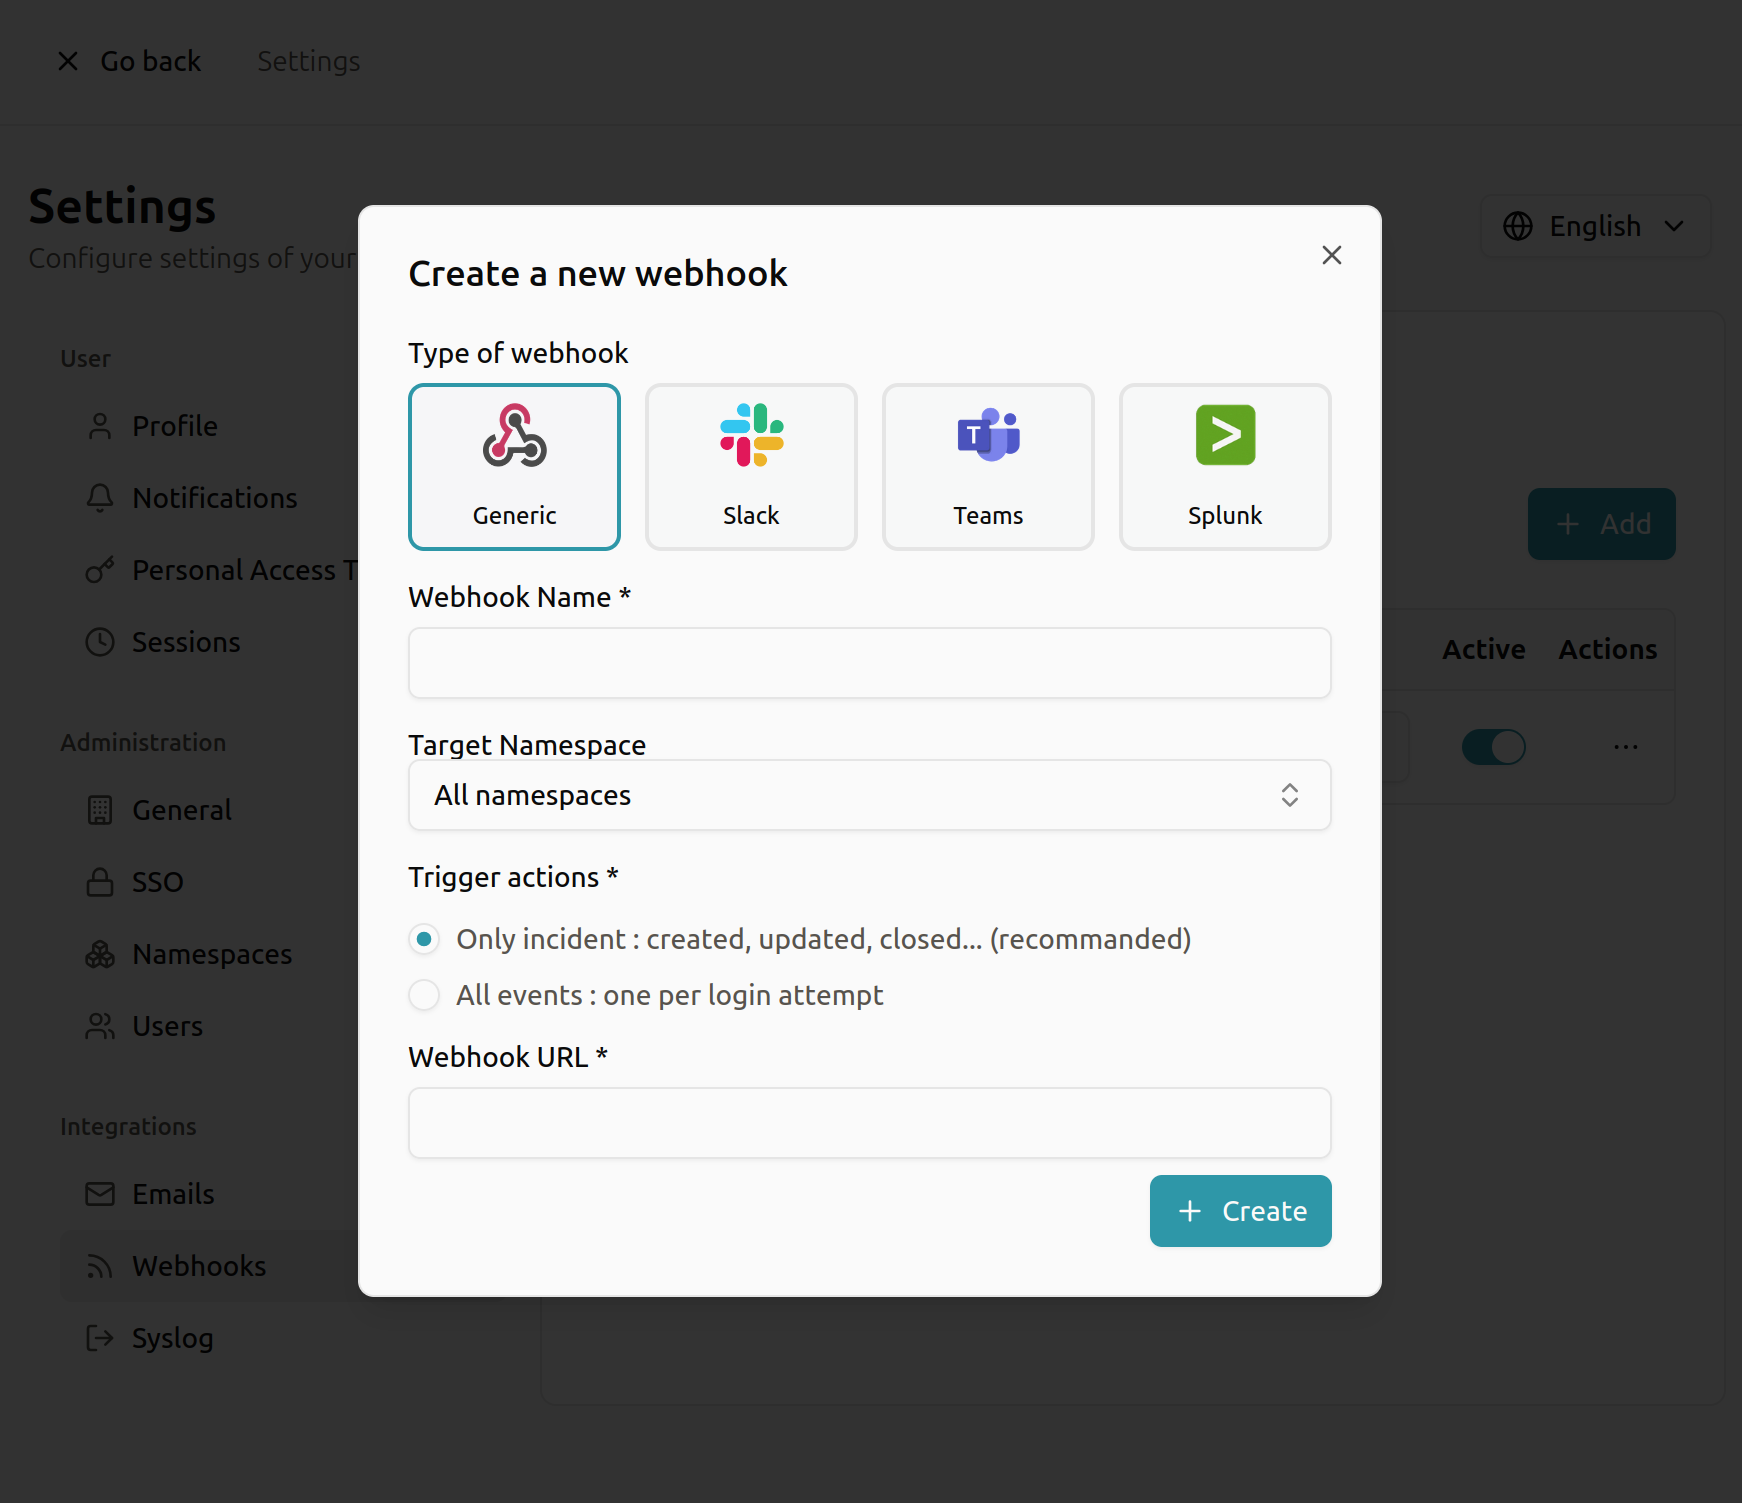
We offer a general webhook for non-specific integrations. It requires only the following:
- Webhook Name: A name to help you recognize it.
- Namespace: Decide which namespaces it should receive alerts from.
- Trigger Actions:
- Only incidents: Be alerted for all updates.
- All events: Receive one alert for each new event.
- Webhook URL: The endpoint where alerts should be sent.
Find specific instructions for each type here:
Actions
Modifying Webhooks
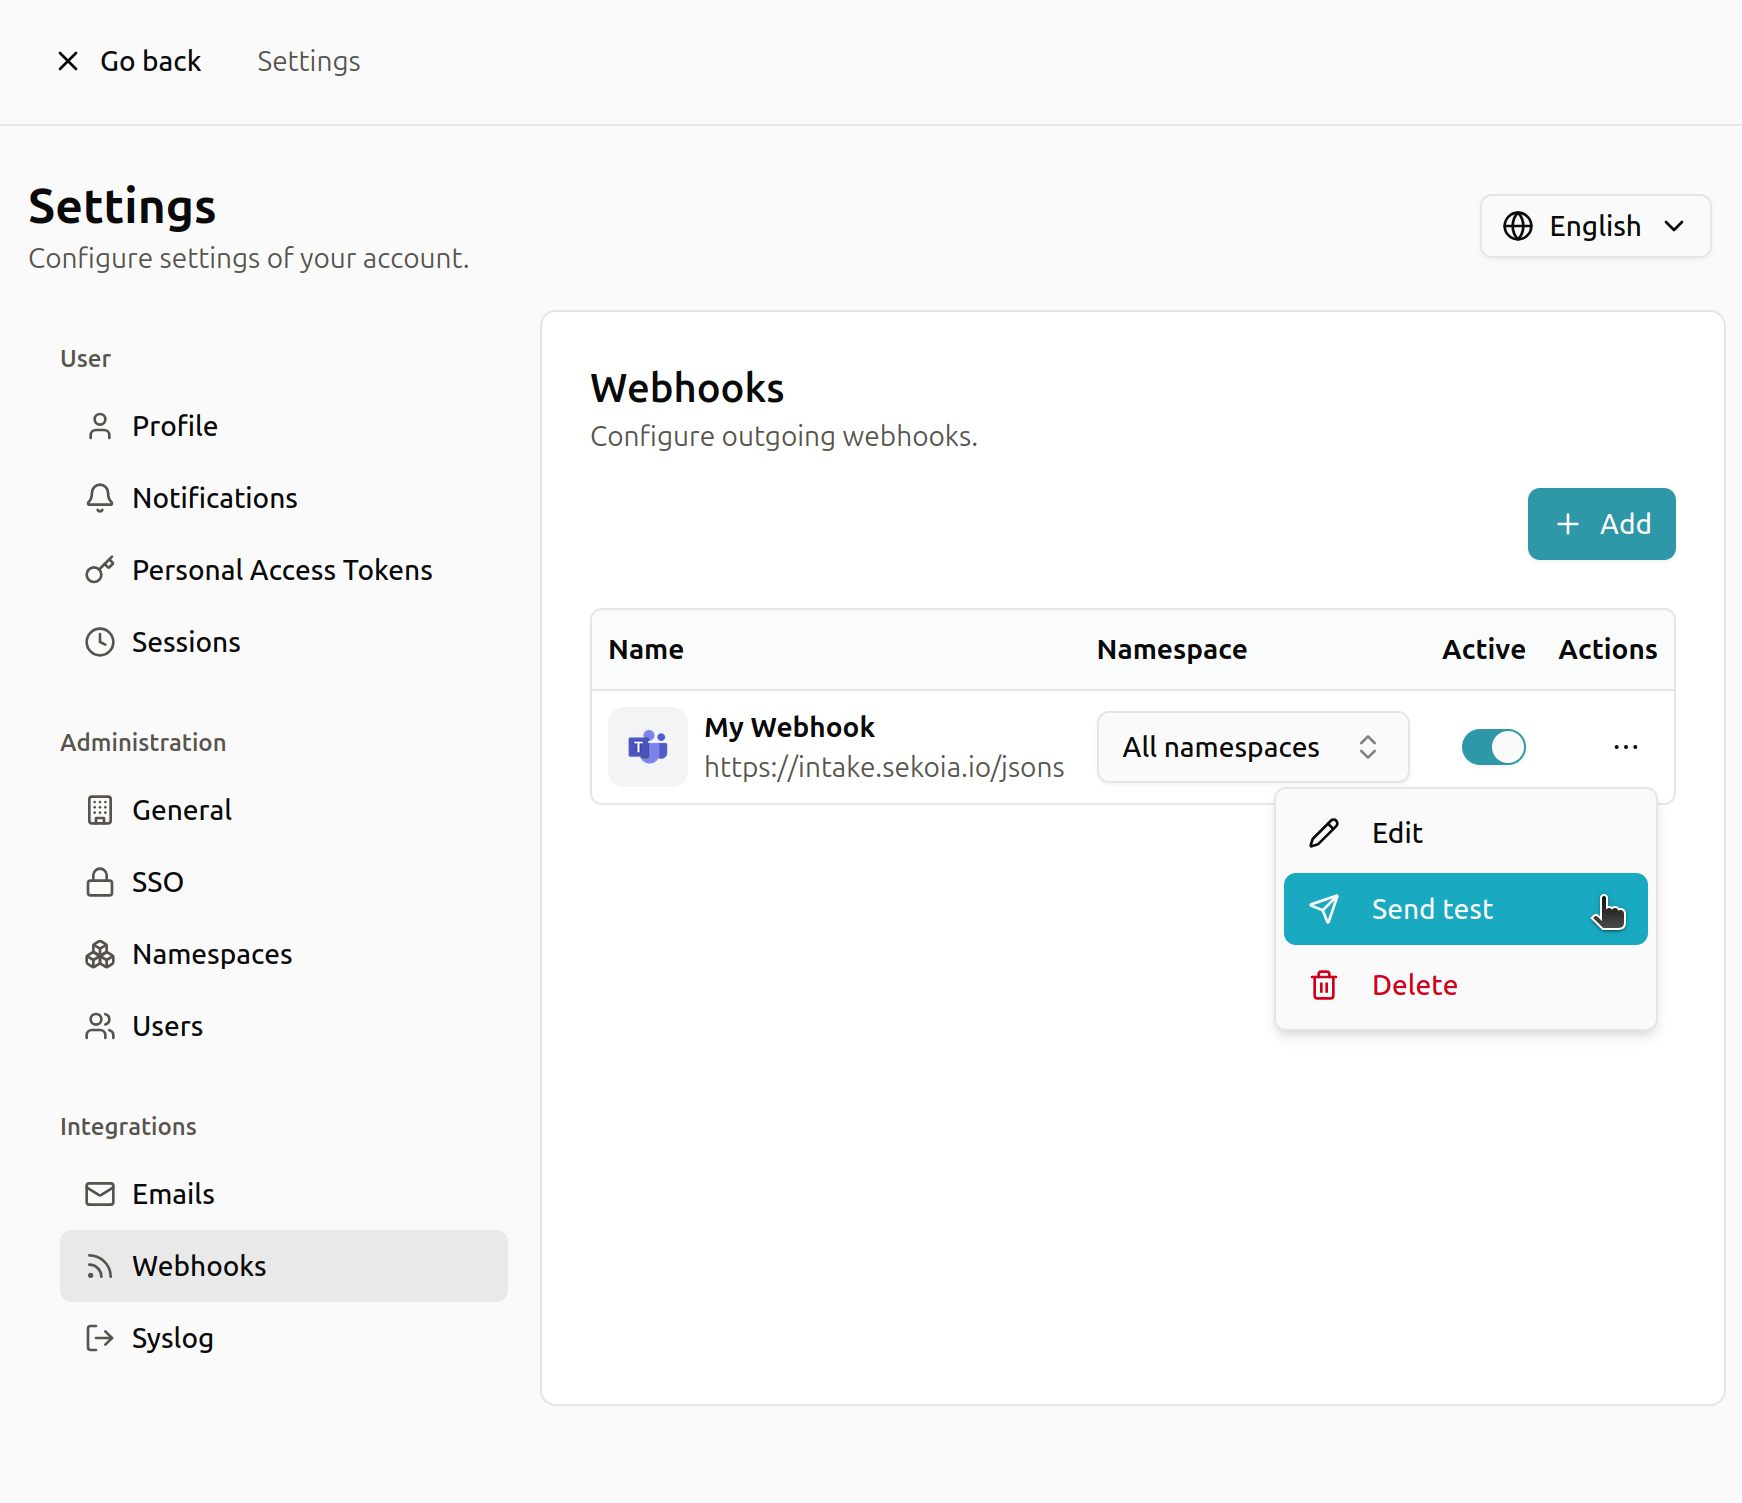
After a webhook is created, you can still update its name, URL, groups, and more.
There is also an On/Off selector to temporarily disactivate your webhook if you do not wish to receive alerts.
Testing Your Webhooks
You can also test any webhooks by sending a test message.
Simply click the paper plane icon — this will send a basic event.