Create and Deploy Honeytokens Enterprise
This guide walks through honeytoken creation in the Trapster dashboard. Each type has its own deployment guide with placement examples.
Before you start
- You need Administrator or Member role to create honeytokens
- If your organization uses namespaces, the honeytoken is created in the namespace currently selected in the sidebar switcher
Types
When you create a honeytoken, you pick a template from the catalog. Each template produces a different kind of decoy. Filter by All, File, Anti-phishing, or Other.
Template catalog
| Type | Category | What you get | Deploy guide |
|---|---|---|---|
| URL | Other | A unique link | URL |
| URL (redirect) | Other | A link that redirects after triggering | URL (redirect) |
| QR Code | Other | A scannable QR code image (PNG) | QR Code |
| QR Code (redirect) | Other | A QR code that redirects after triggering | QR Code (redirect) |
| Microsoft Word | File | A .docx document | Word |
| Microsoft Excel | File | An .xlsx spreadsheet | Excel |
| Microsoft PowerPoint | File | A .pptx presentation | PowerPoint |
| JS Clone | Anti-phishing | A JavaScript snippet | JS Clone |
Choosing the right type
- Quick link in an email or message → URL
- Physical security test or event → QR Code
- QR code on a poster that should redirect to your site → QR Code (redirect)
- Realistic document in a shared folder → Word, Excel, or PowerPoint
- Detect a cloned login page → JS Clone
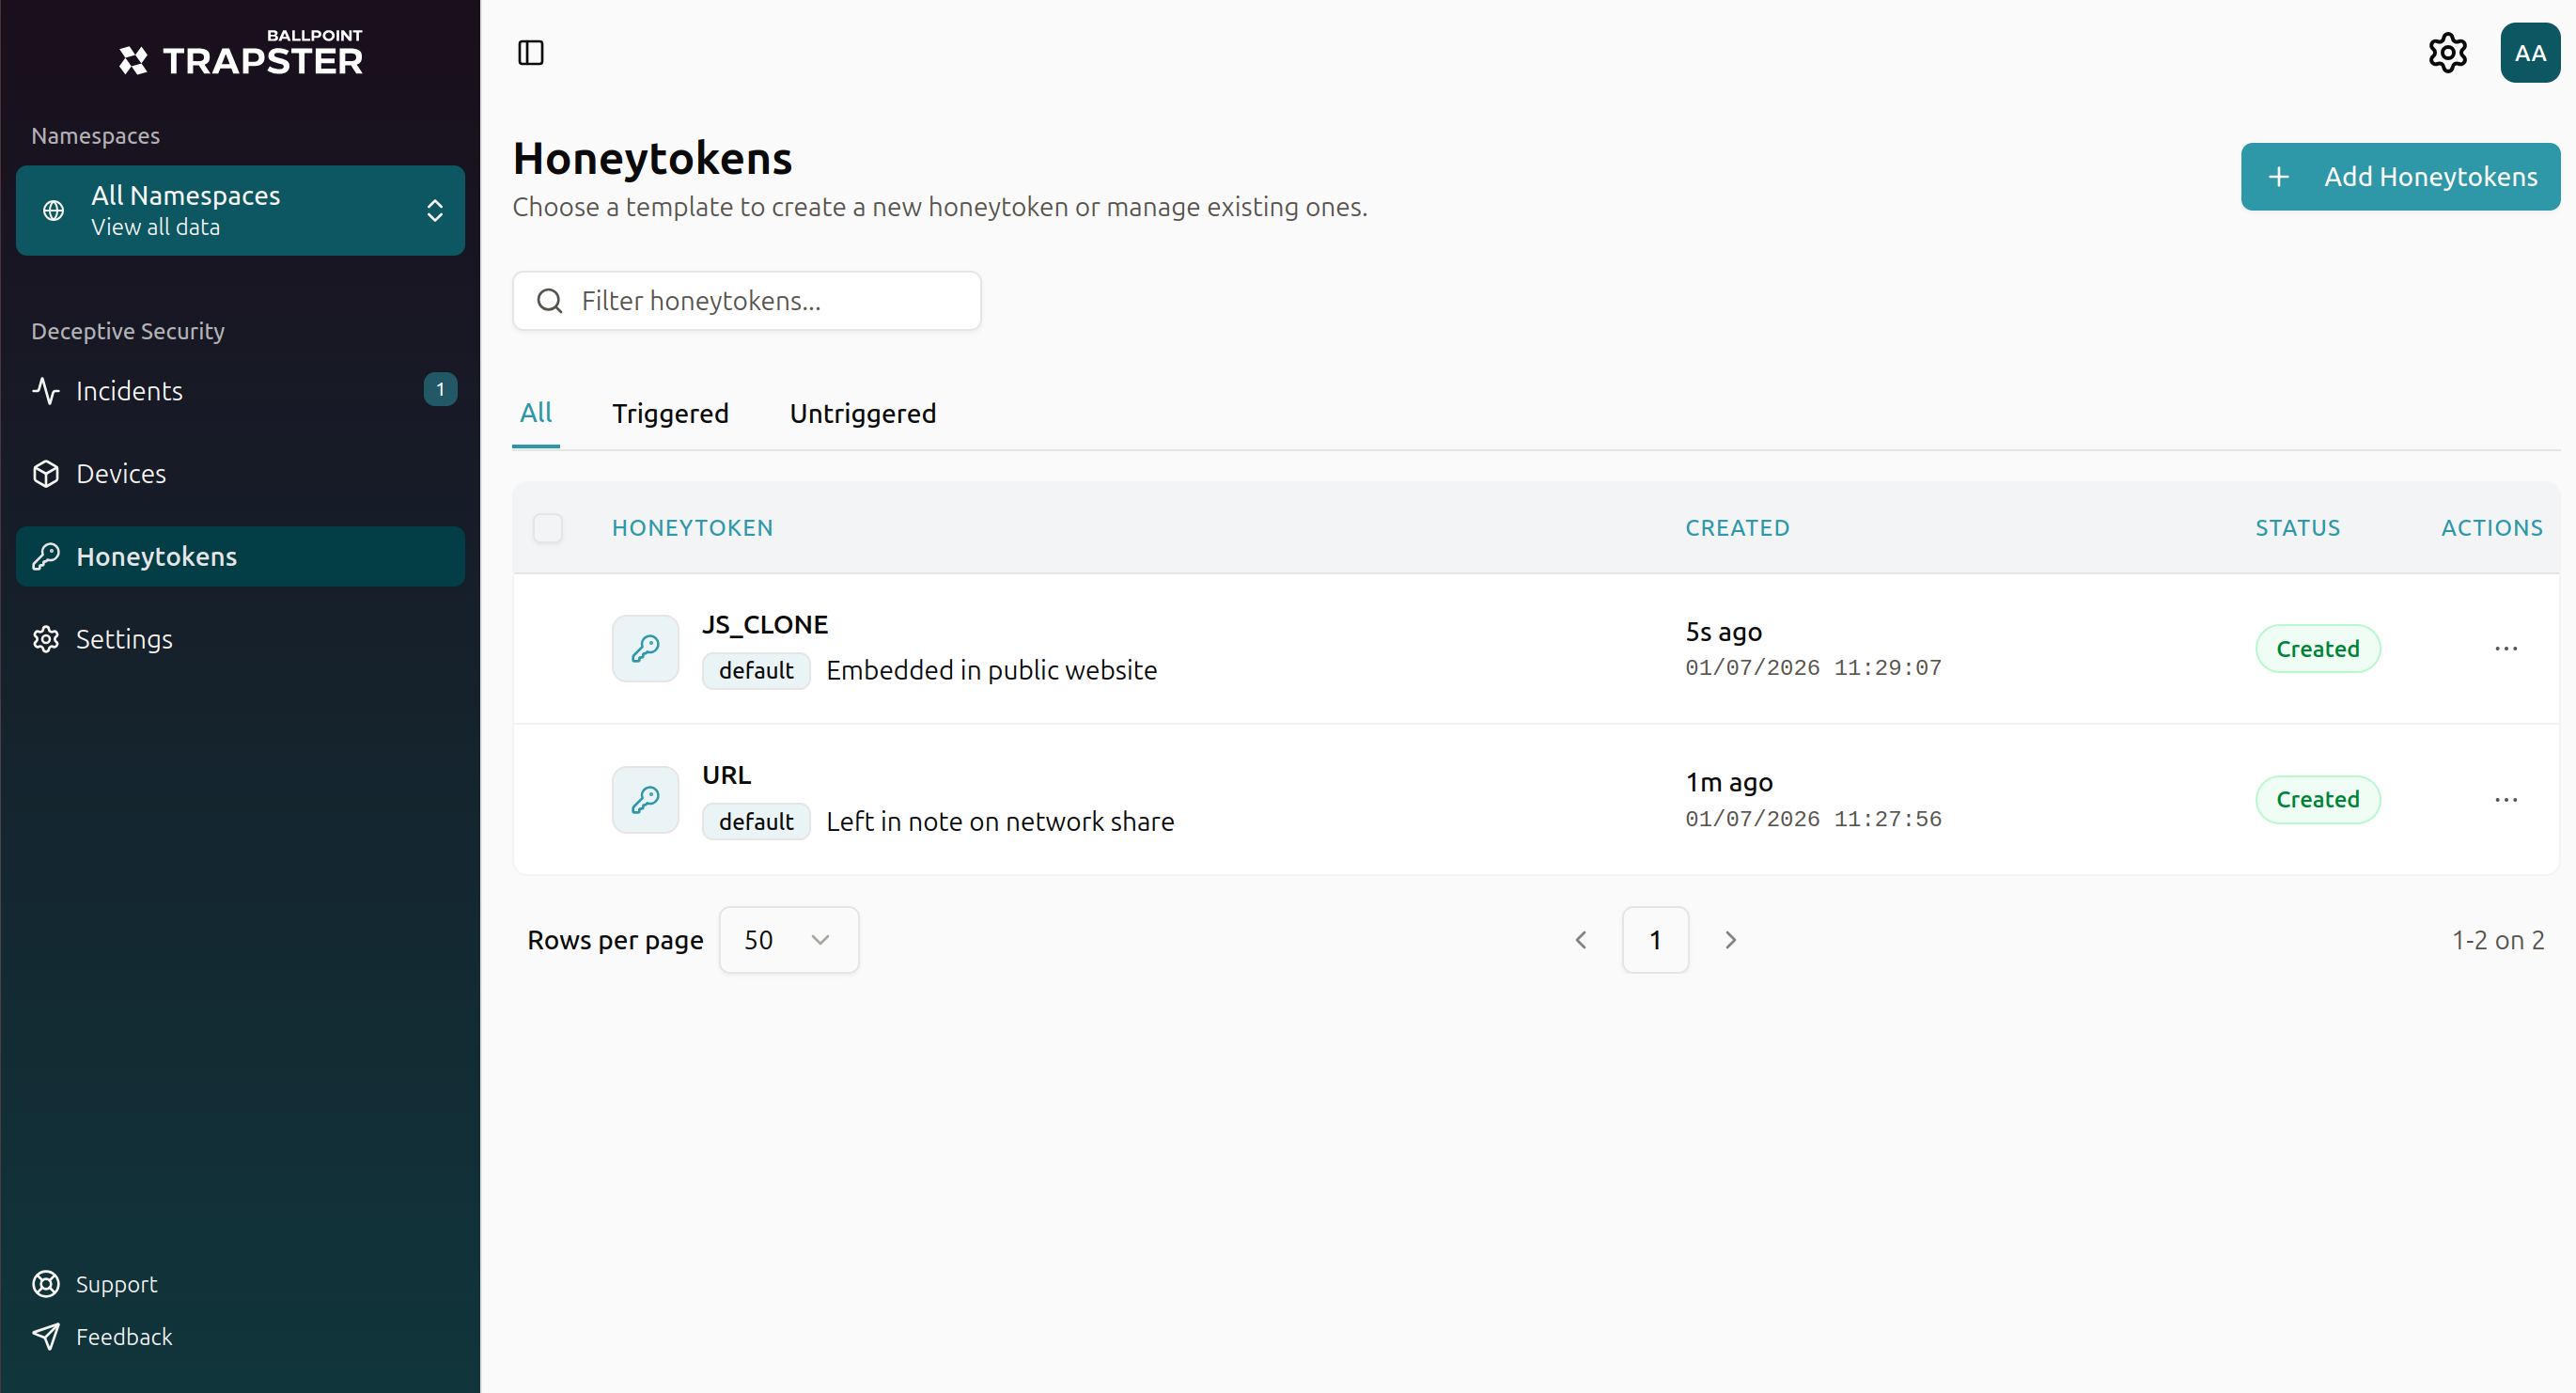
Create a honeytoken
1. Open the honeytoken section
Either:
- Go to Honeytokens in the sidebar and click Add Honeytokens, or
- On the Incidents page, click Create on the honeytokens summary card
2. Browse the template catalog
Use the search box or category filters (All, File, Anti-phishing, Other) to find the type you want. Click a template to select it.
| Type | Category | Deploy guide |
|---|---|---|
| URL | Other | URL |
| URL (redirect) | Other | URL (redirect) |
| QR Code | Other | QR Code |
| QR Code (redirect) | Other | QR Code (redirect) |
| Microsoft Word | File | Word |
| Microsoft Excel | File | Excel |
| Microsoft PowerPoint | File | PowerPoint |
| JS Clone | Anti-phishing | JS Clone |
3. Configure the honeytoken
Every honeytoken requires a Note : a short reminder of where you placed it. This note appears in incidents when the honeytoken triggers.
Examples:
- "Placed in SharePoint /Finance/Q4 folder"
- "QR code on lobby poster, building A"
- "Embedded in login page head section"
Extra options depend on the template. See the deploy guide for your type.
4. Create and retrieve your asset
Click Create. After creation, you are given the honeytoken to download or copy and told what to do next:
| Template | What you get |
|---|---|
| URL, URL (redirect) | Copy the Token URL |
| QR Code, QR Code (redirect) | Download the QR code image (PNG) |
| Word, Excel, PowerPoint | Download the document file |
| JS Clone | Copy the JavaScript code |
Click Create new to make another honeytoken of the same or a different type.
What happens when a honeytoken triggers
- Trapster records the interaction (source IP, timestamp, and any fingerprint data if enabled)
- A new incident appears on the Incidents page
- The honeytoken's trigger count increases on the Honeytokens list
- If you configured notifications, email or webhook alerts are sent according to your settings
Next steps
- Monitor triggers : review event logs and IP analysis on the detail page
- Incidents : acknowledge and investigate triggered honeytokens